


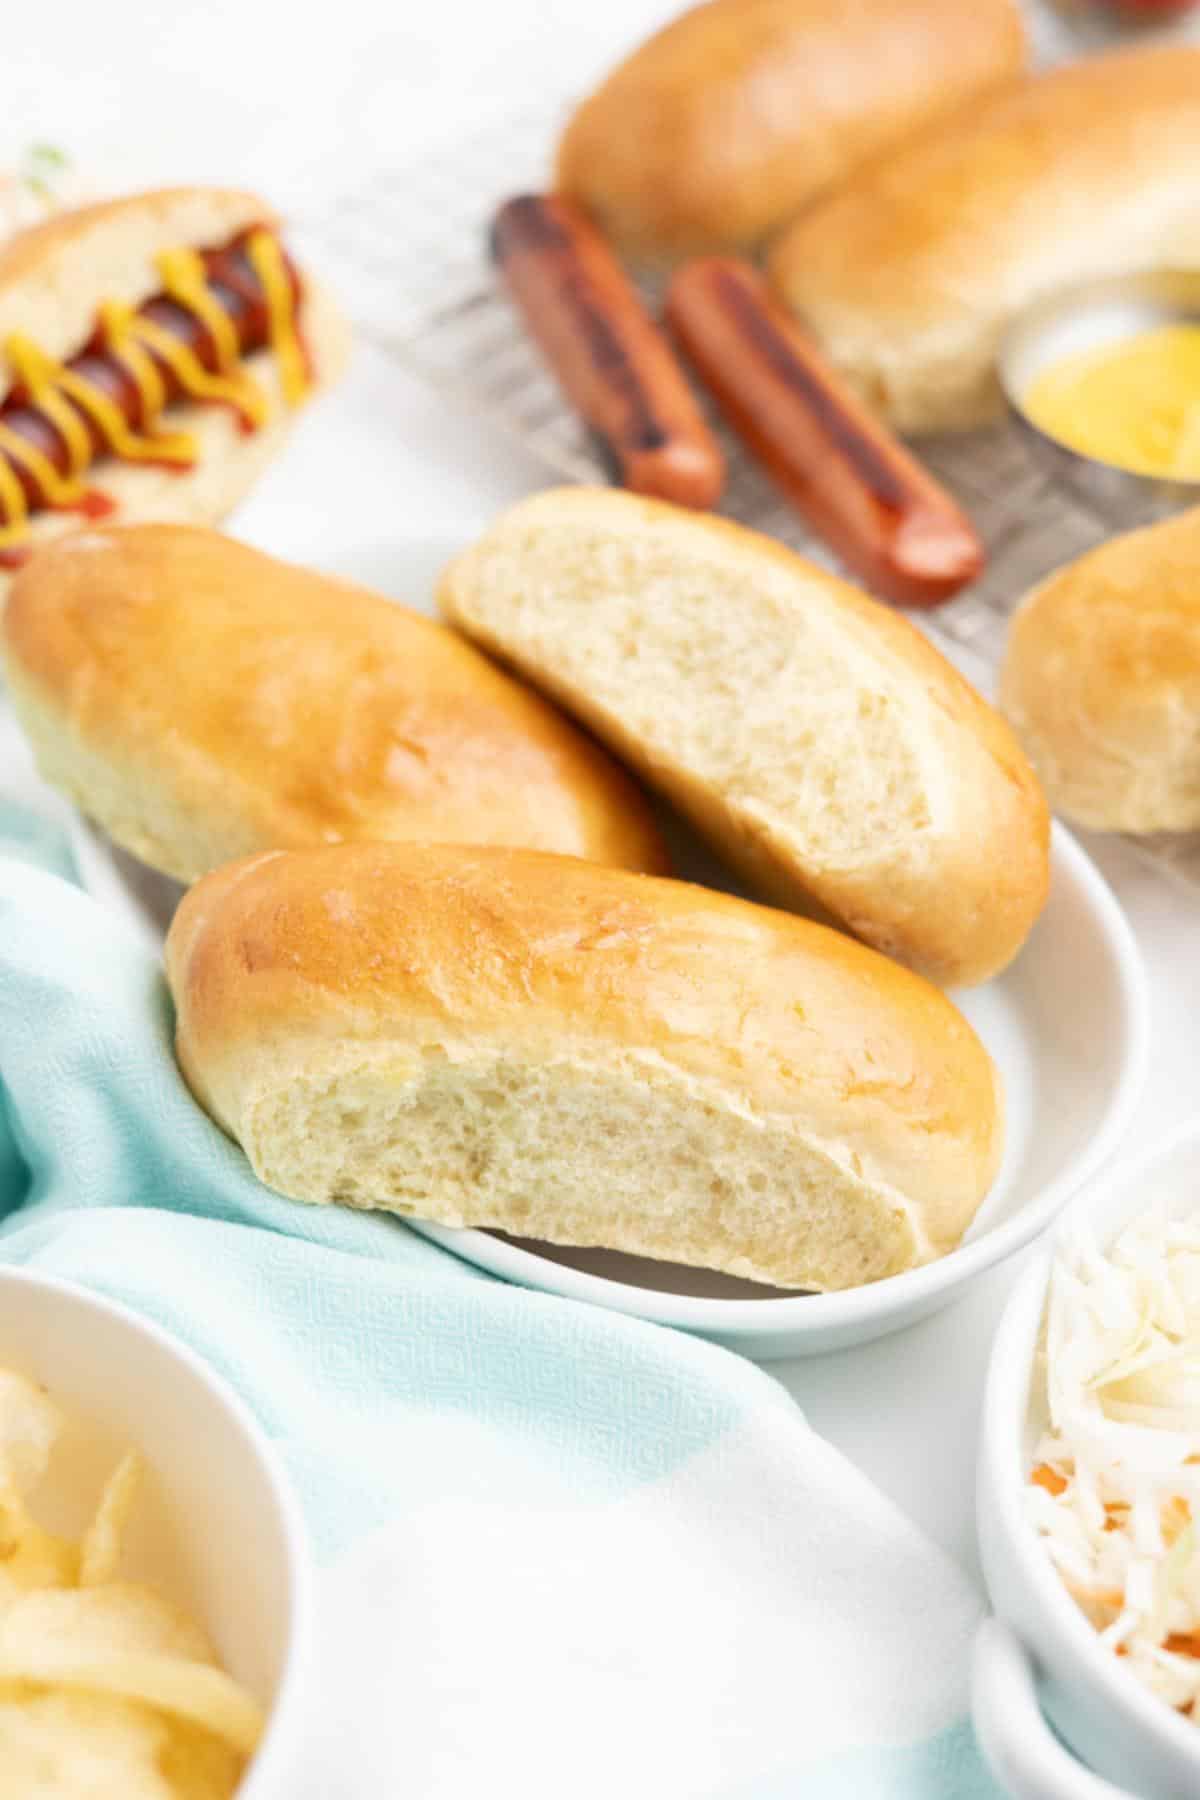
Skip the store-bought bag of hot dog rolls and make your own instead! These Homemade Hot Dog Buns are so soft and fresh, you’ll want to serve them at every cookout this grilling season!
Jump to:
While it may be convenient to just pick up a package of hot dog buns on your next trip to the grocery store, I think taking the extra time to make your own from scratch is definitely worth it.
I mean, there’s just something comforting about knowing exactly what goes into the food I’m serving my family. These hot dog buns are made with simple ingredients that you can pronounce. Unlike store-bought buns that often sit on the shelves for weeks, these contain no additives or preservatives - just real food!
For more homemade bread recipes, check out my gluten-free pumpkin bread, buttermilk cornbread, and homemade pretzel dogs next.
Ingredients
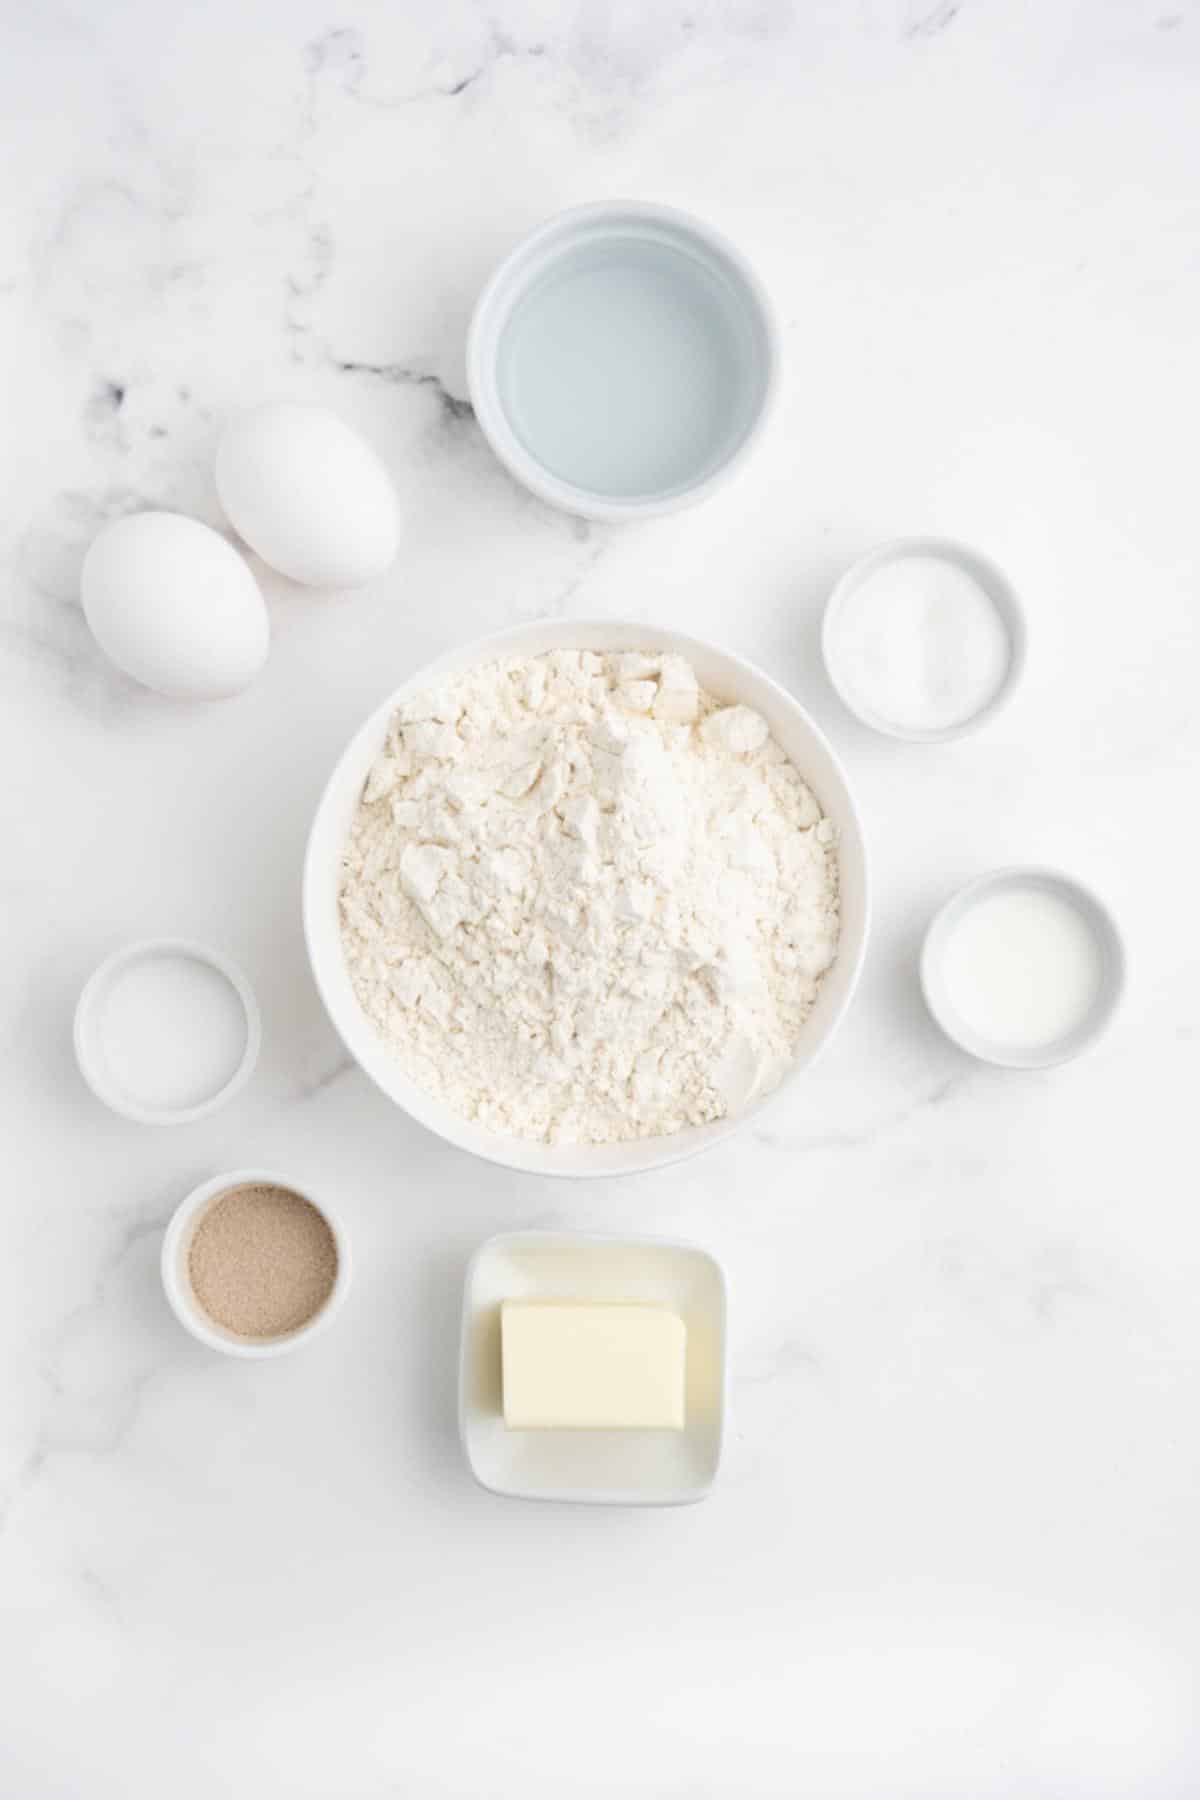
Here’s everything you’ll need to make the best hot dog buns recipe for soft, irresistible rolls!
- Rapid-Rise Yeast: This is also known as instant yeast or fast-acting yeast. Don’t use active dry yeast, as the dough will take much longer to rise.
- Water: You’ll need warm water for dissolving and activating the yeast. Make to check the temperature as too hot or too cold may not work properly.
- Sugar: Helps to activate the yeast and adds a touch of sweetness to the hot dog bread.
- Flour: There’s no need for bread flour in this hot dog bun recipe, just regular all-purpose flour.
- Butter: Be sure to use unsalted, as you will be adding salt to the dough.
- Milk: I use whole milk, but you can use 2% if that’s what you’ve got on hand. I wouldn’t go any lower in fat than that.
- Eggs: This hot dog bread recipe requires one egg for the dough and one for making an egg wash.
See the recipe card below for exact ingredient amounts, nutritional information, and detailed instructions.
Variations
- Hamburger Buns: Turn these into hamburger rolls by forming them into rounds instead of a hot dog bun shape.
- Sliders: Make a bunch of mini hamburger buns instead of full size hot dog or hamburger rolls. This works great if you’re having a party!
- Hoagie Rolls: Make the buns a little bigger to turn them into hoagie rolls for your favorite sandwiches.
How to Make Hot Dog Buns
Here are detailed steps for making this recipe for hot dog buns. If you’ve never made homemade bread before, you’ll see it’s easier than you think!

Step 1: Aerate the flour. Whisk the all-purpose flour and salt in a large bowl.
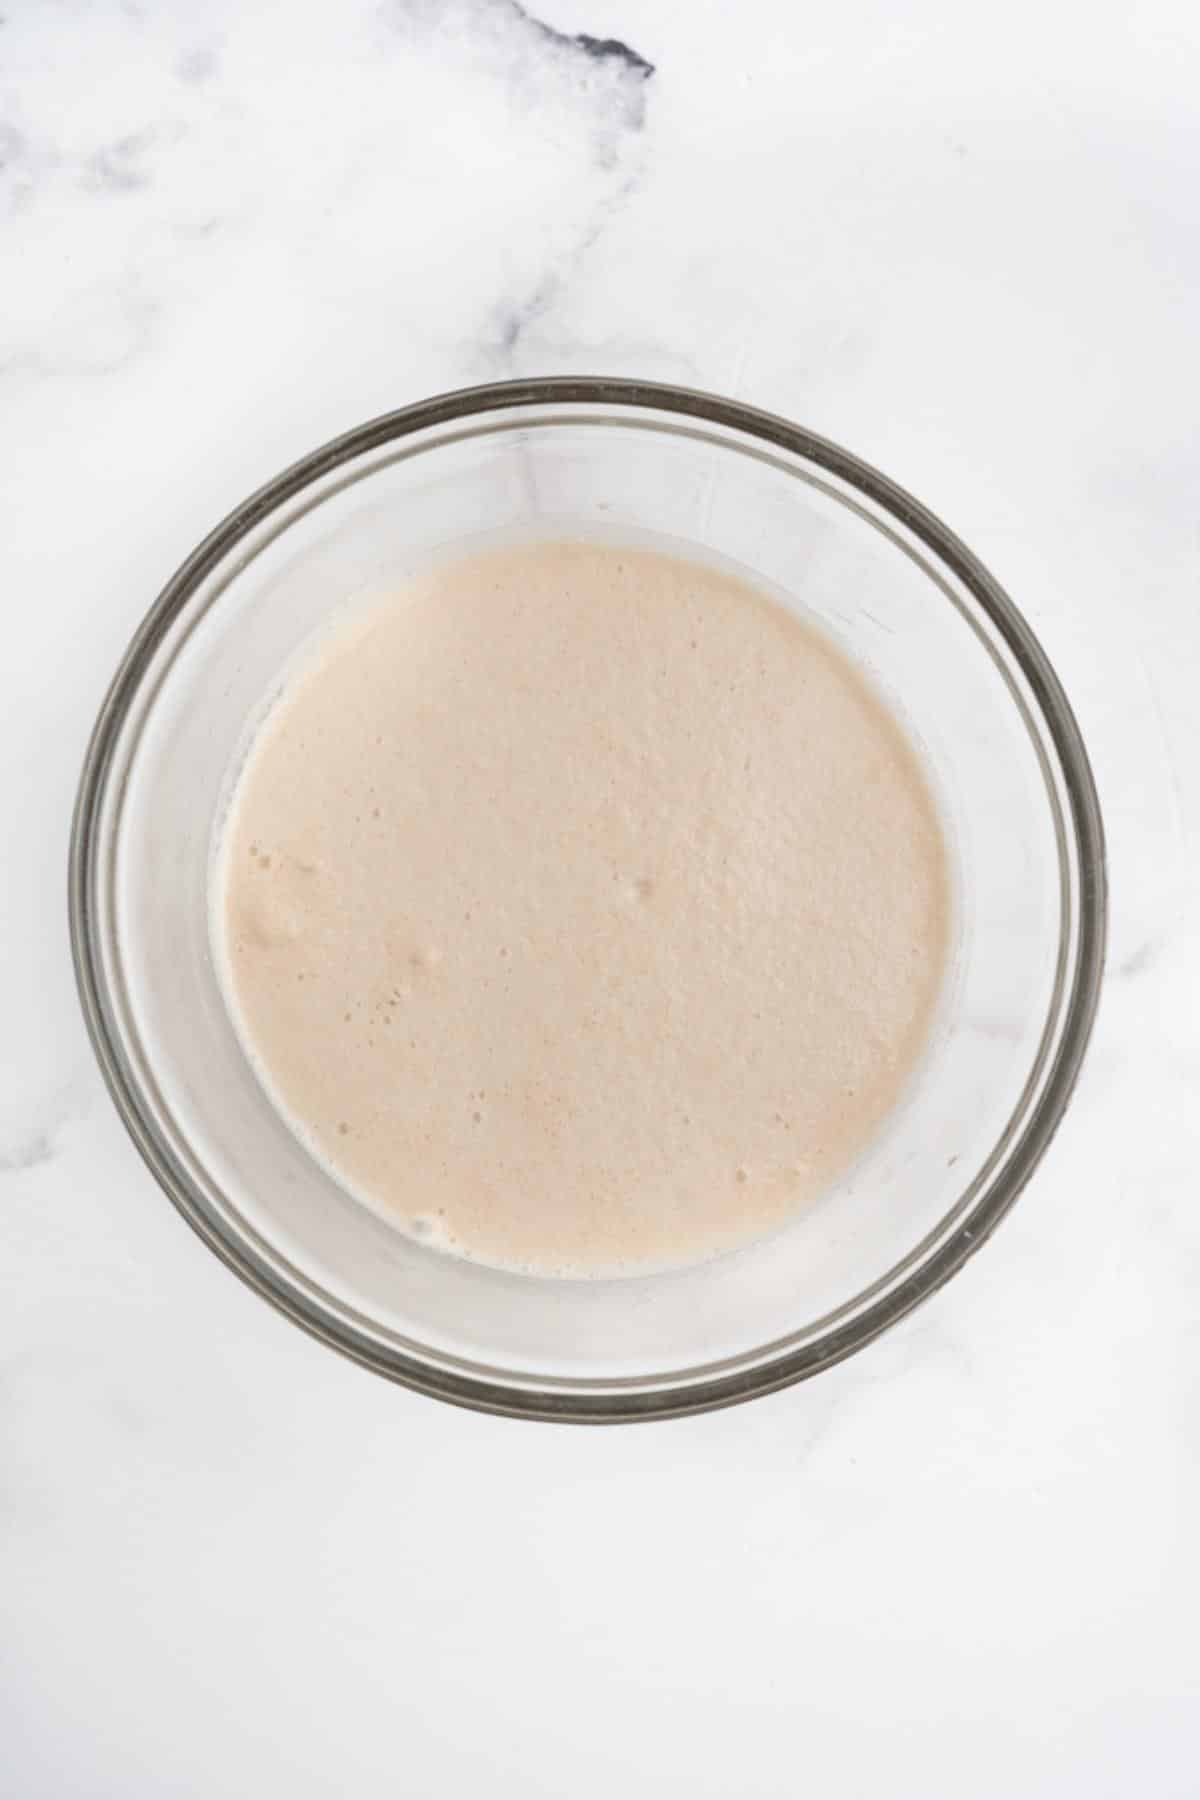
Step 2: Activate the yeast. Add lukewarm water, sugar, and the yeast to a small bowl and stir. Cover and let sit until it’s frothy and bubbly, about 10 minutes.
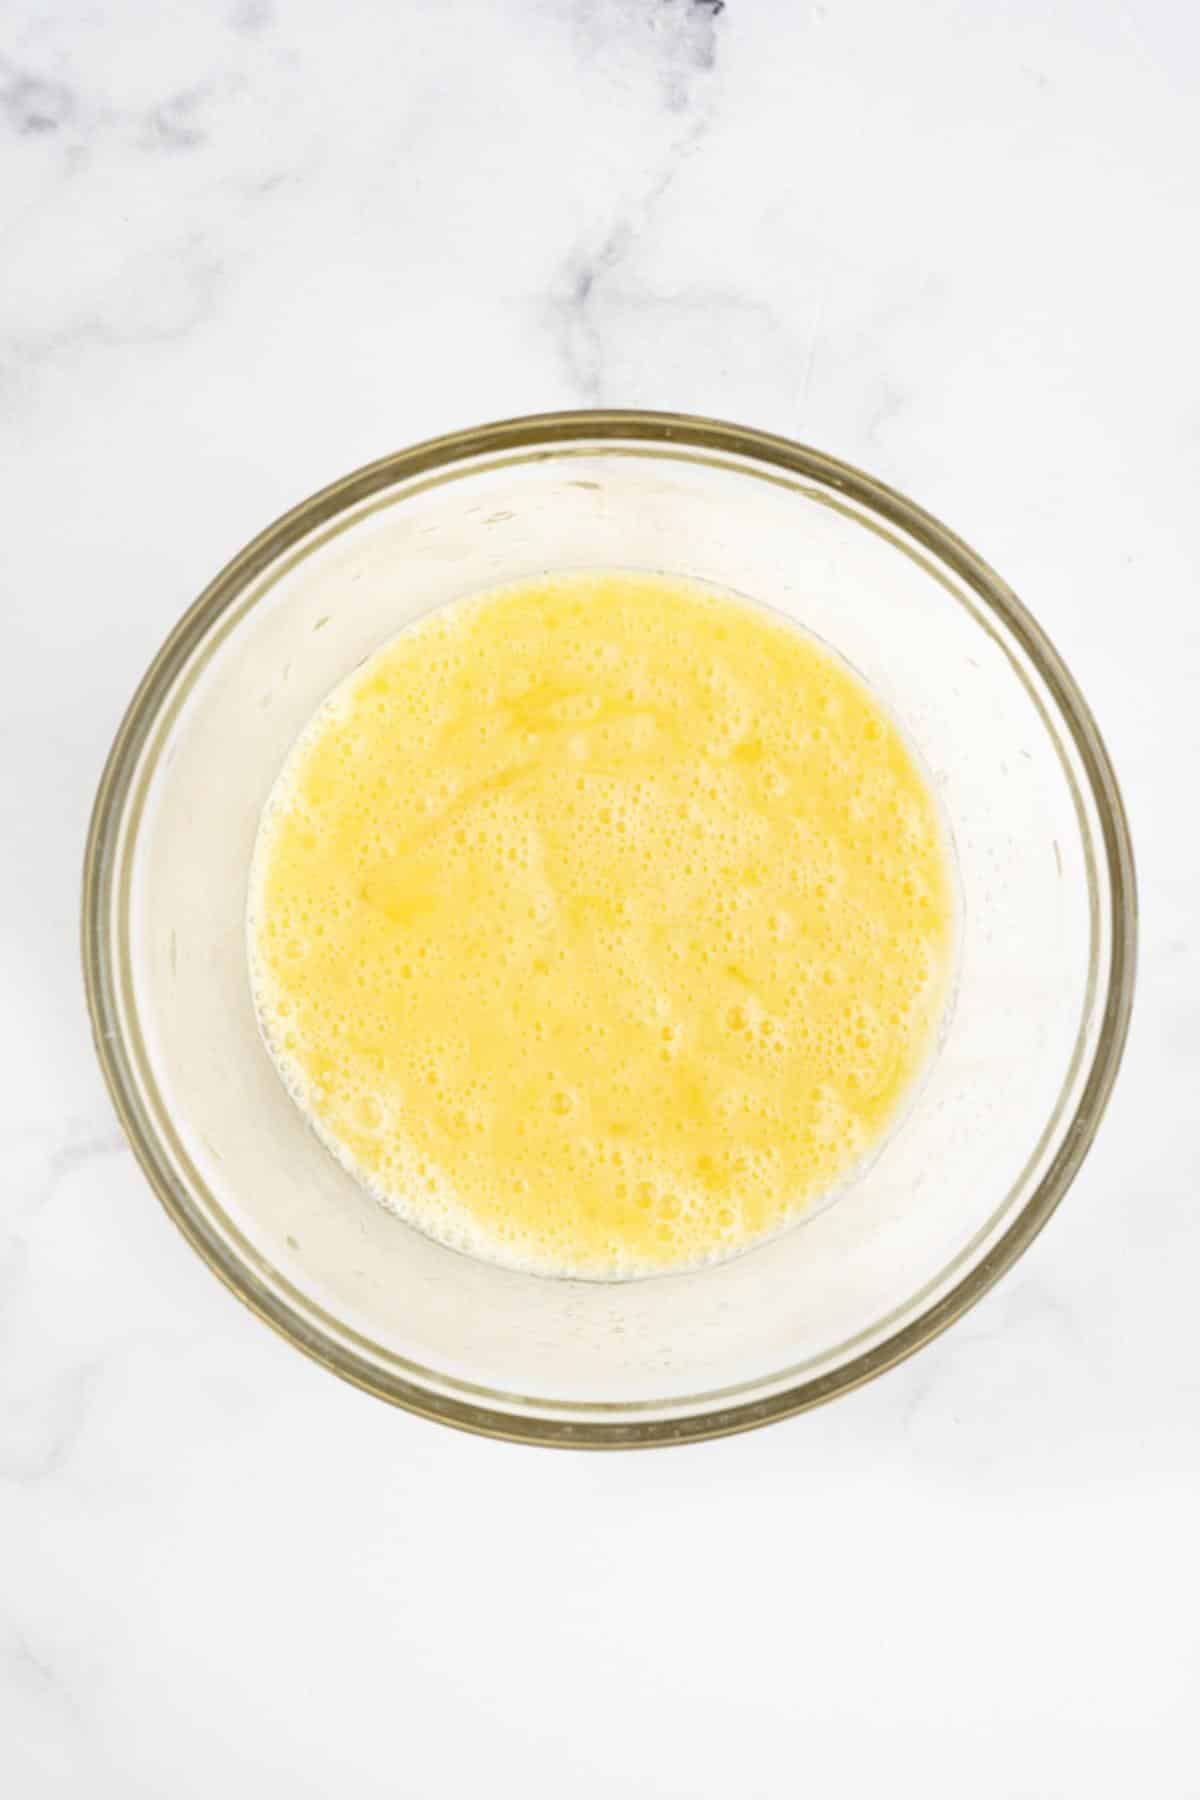
Step 3: Combine wet ingredients and yeast. Add the butter and milk to a microwave-safe bowl and microwave just until the butter melts. Allow the mixture to cool slightly. When the yeast is ready, stir in one egg and the butter and milk mixture.
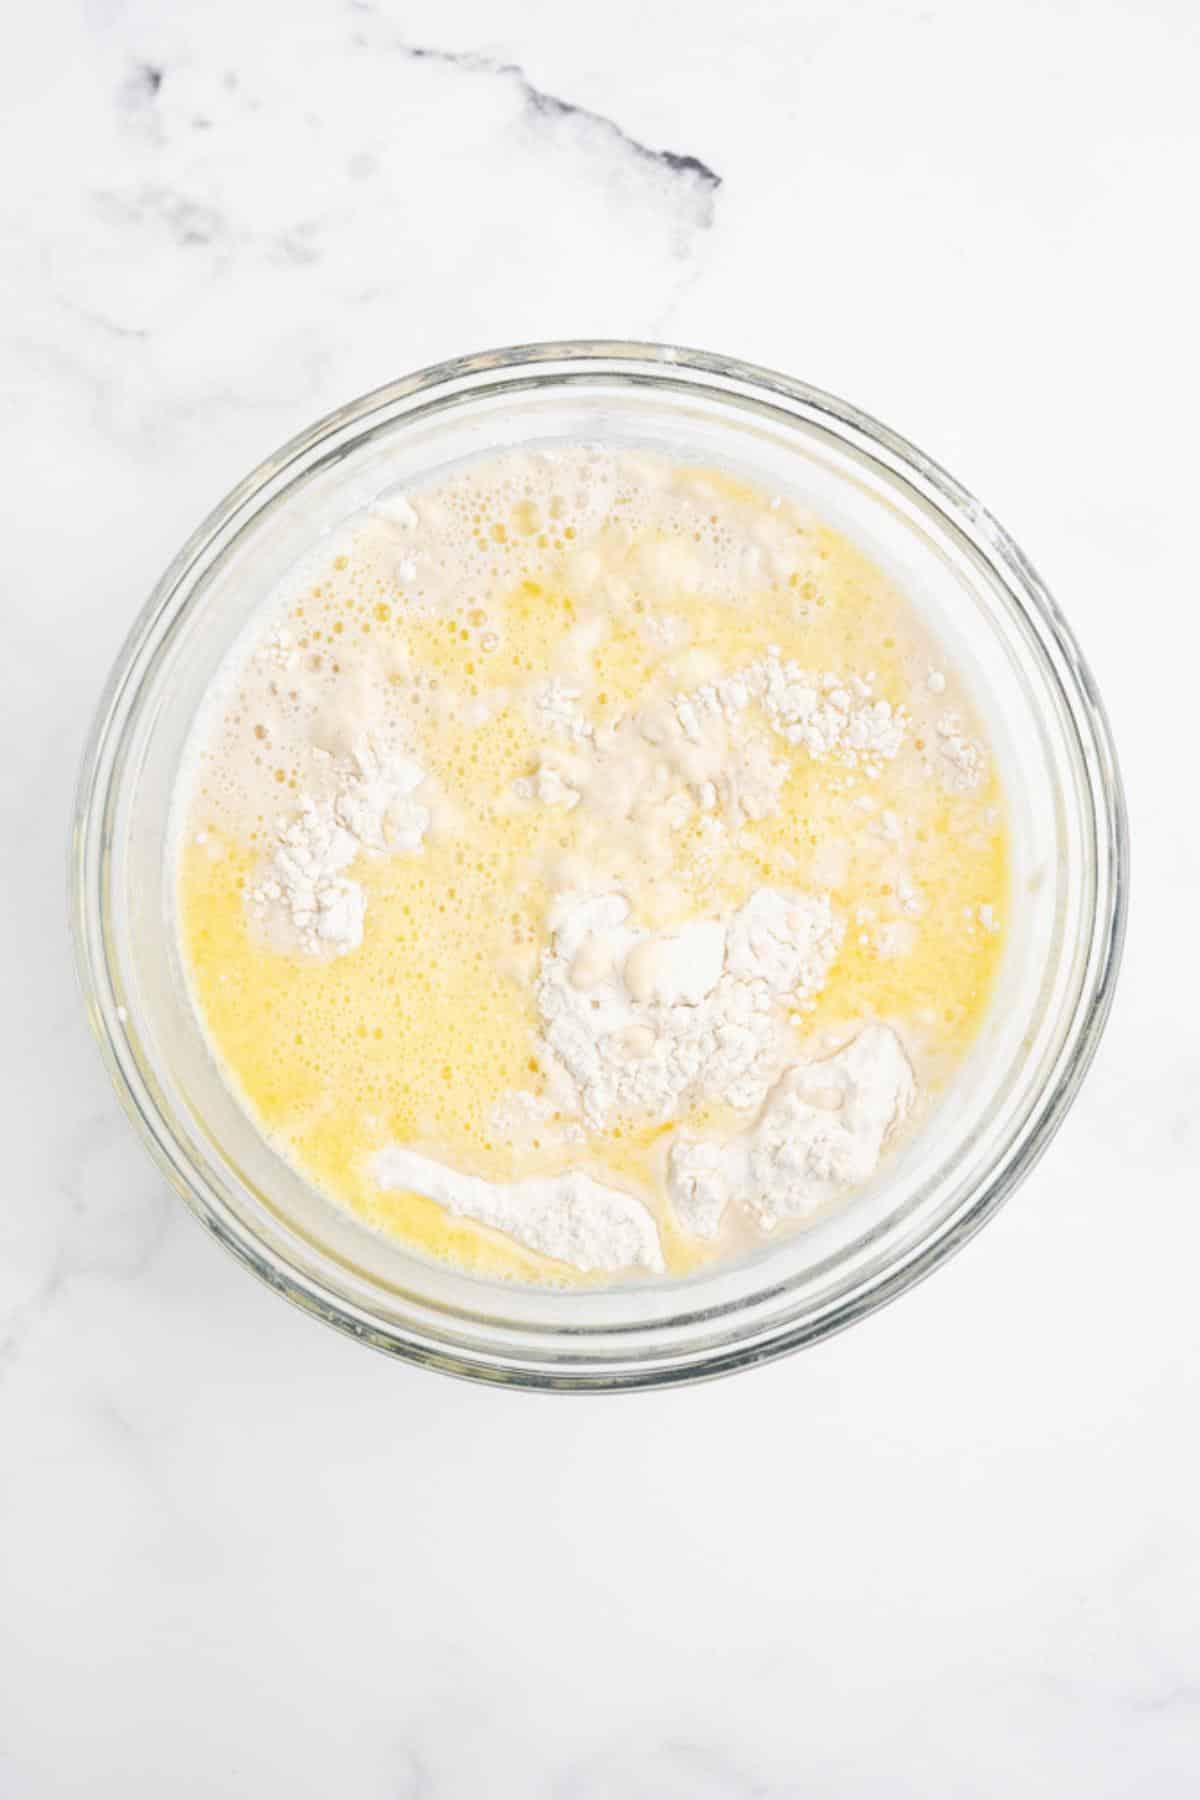
Step 4: Combine dry and wet ingredients. Add the wet ingredients to the flour and salt mixture.
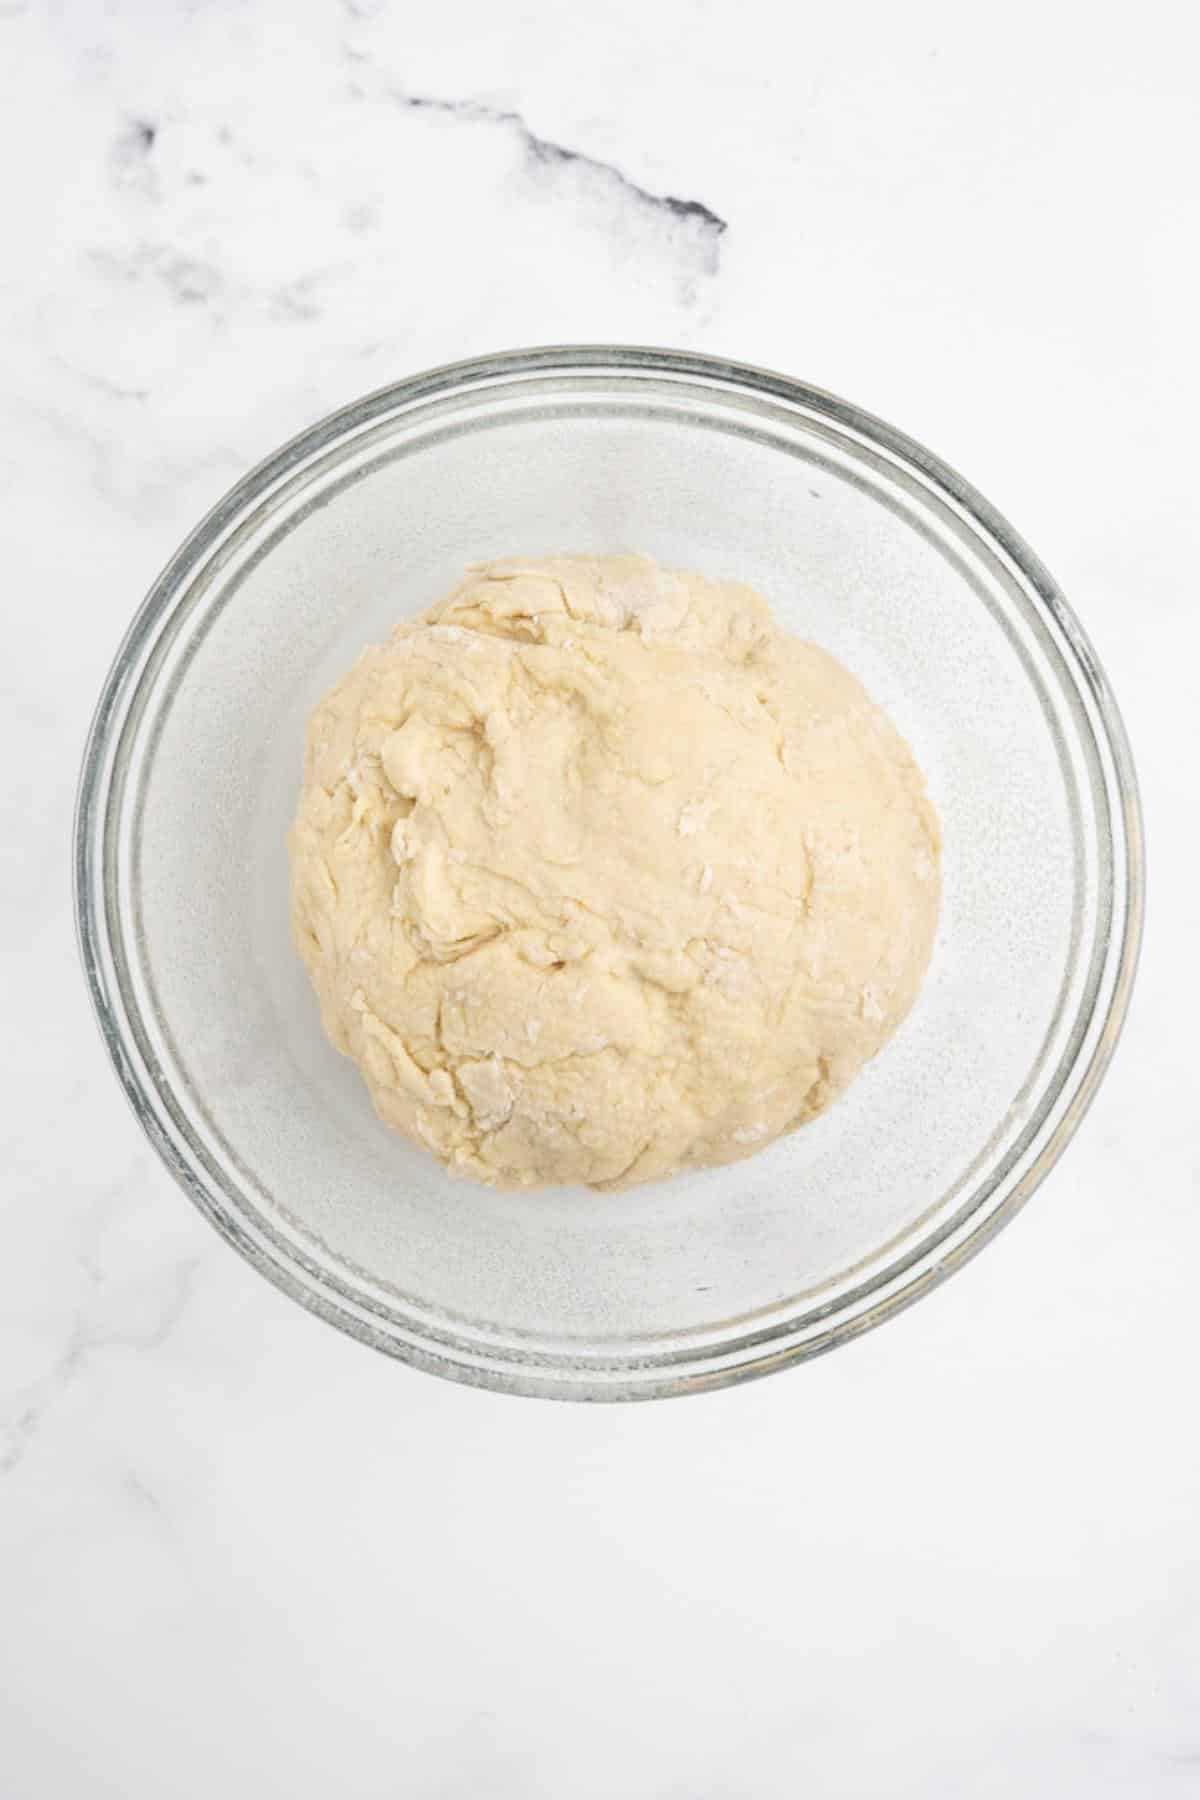
Step 5: Stir together to form the dough. Gently stir the mixture together until a sticky dough has formed.
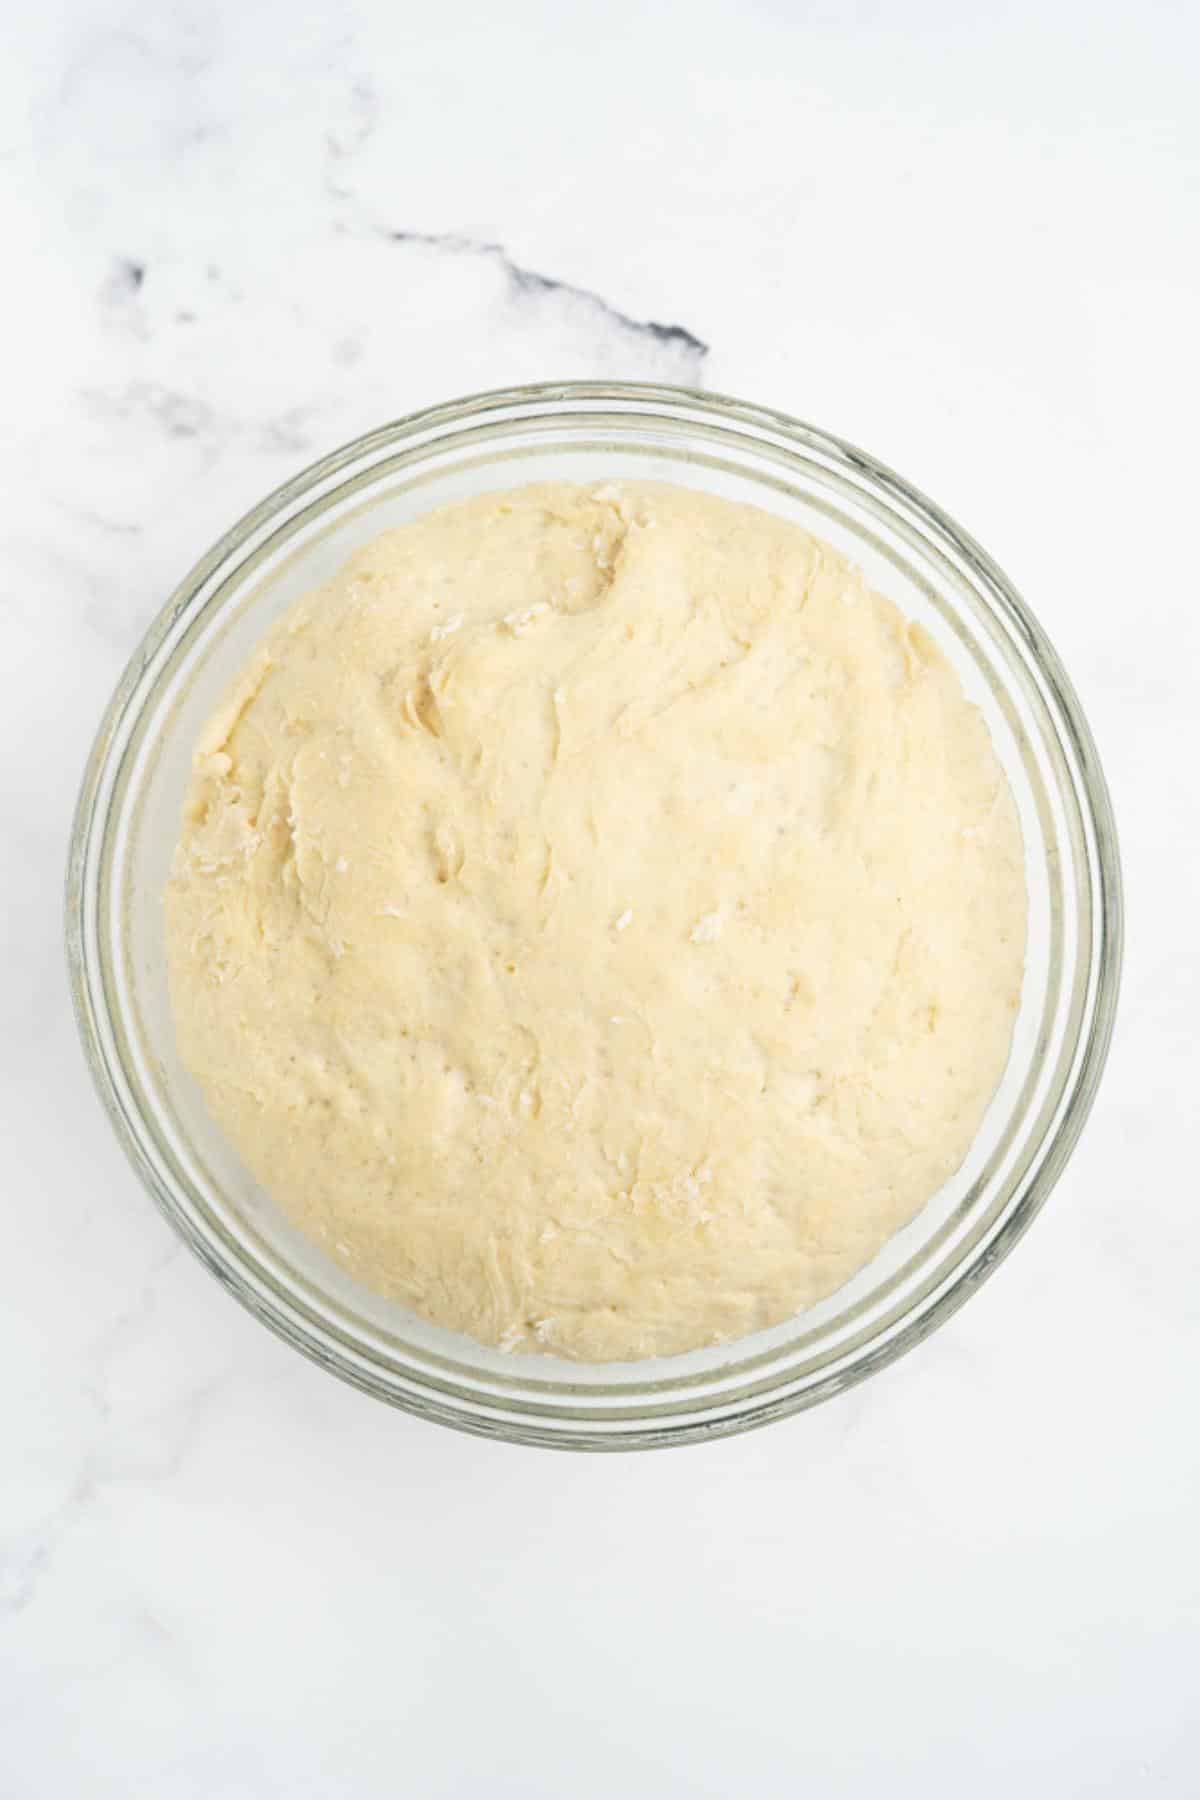
Step 6: Proof the dough. Cover the ball of dough and place in a warm spot for 1-2 hours to allow it to rise.
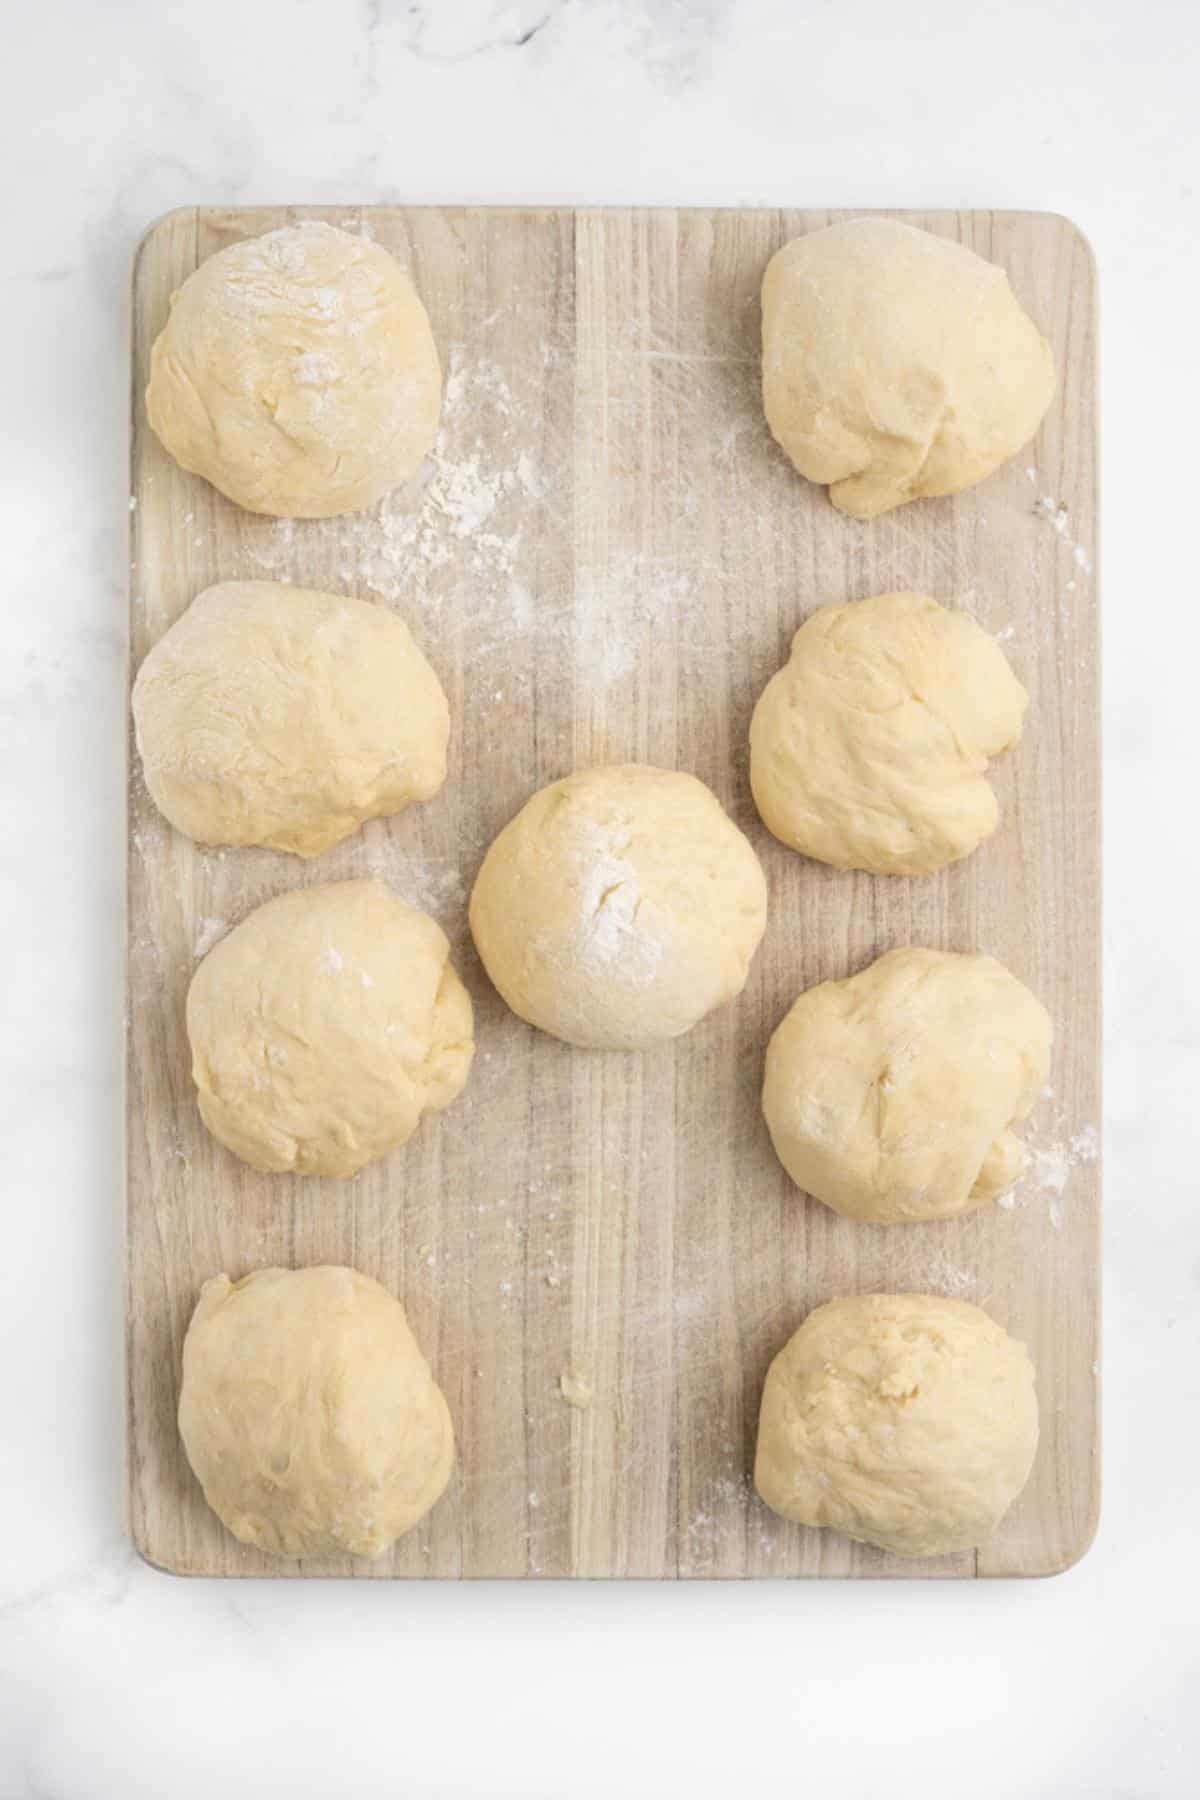
Step 7: Divide the dough. Place the risen dough ball on a lightly floured surface and separate it into 10 equally sized pieces.

Step 8: Roll the dough. Flatten the dough balls and roll each one into a hot dog bun shape.
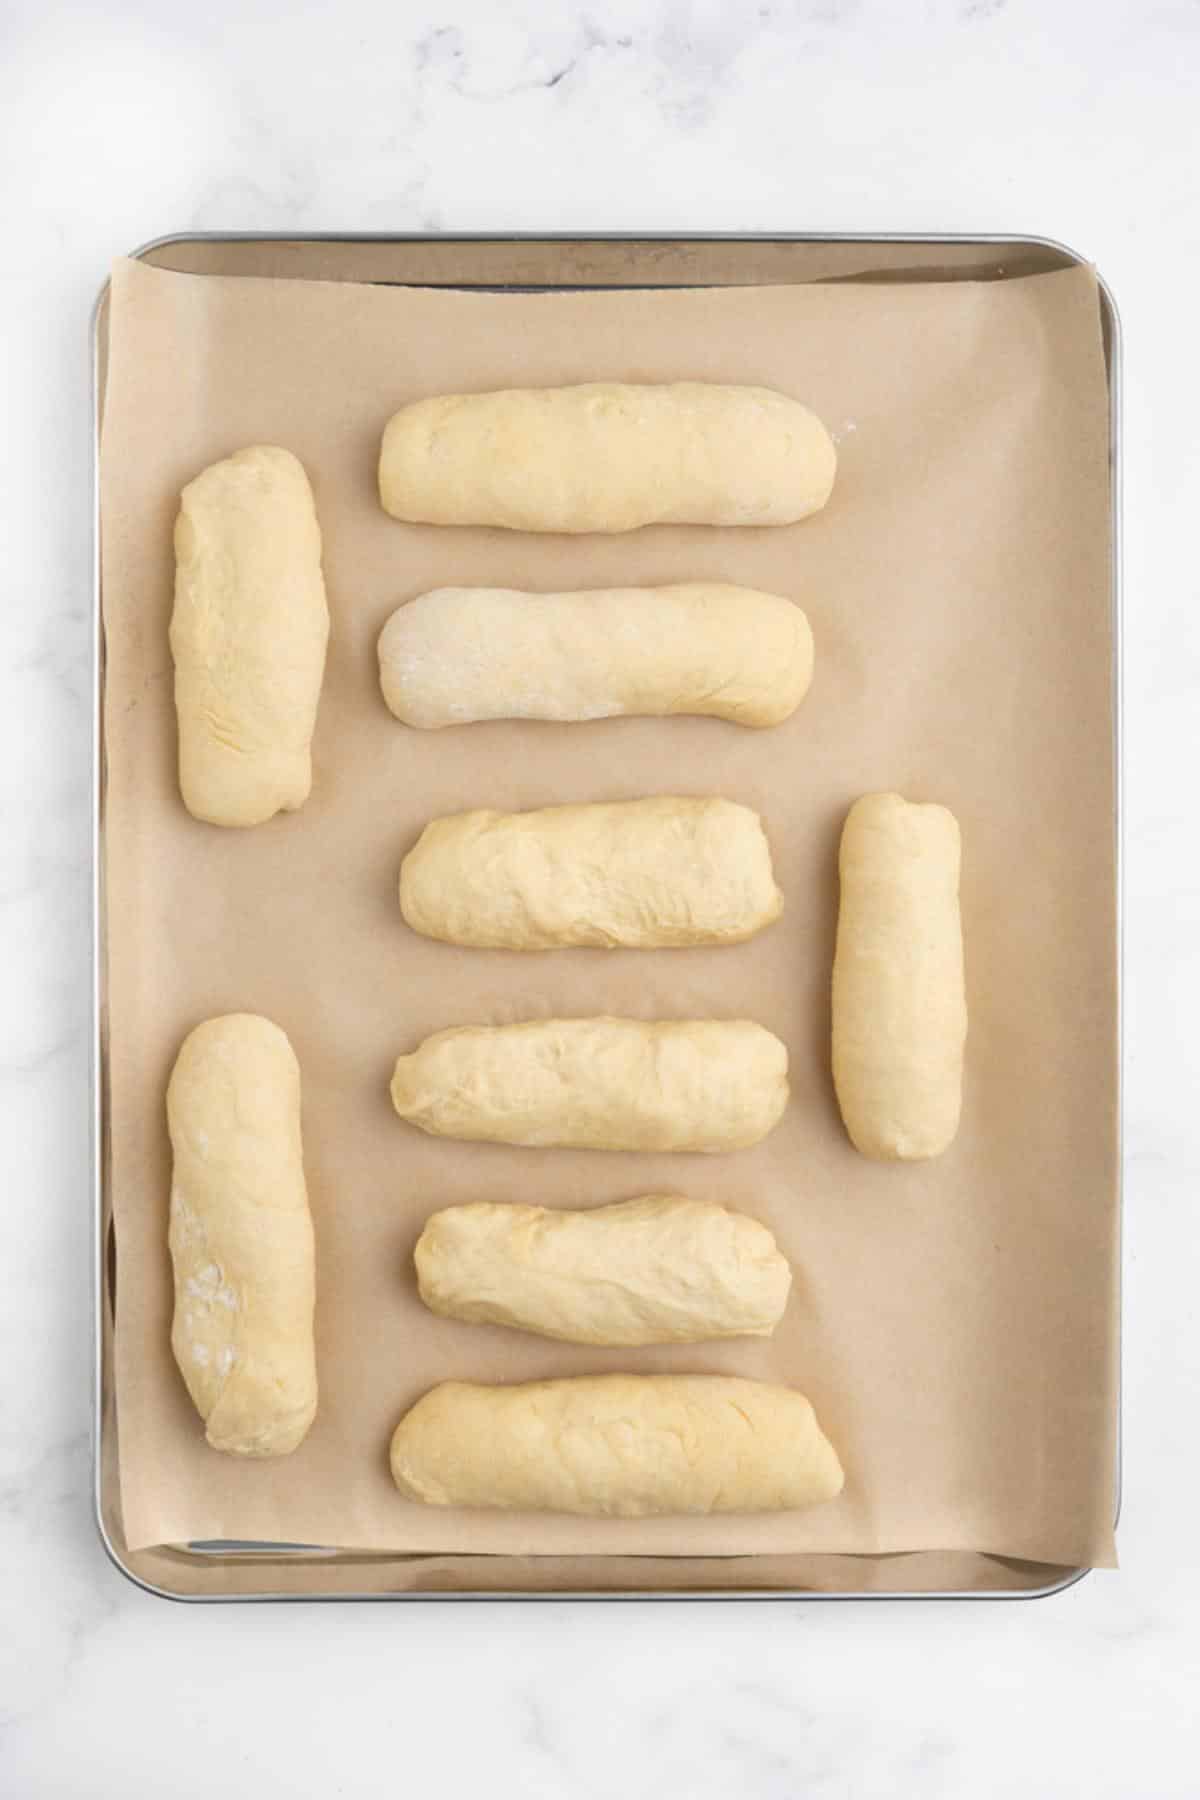
Step 9: Proof again. Arrange the unbaked buns on a baking sheet lined with parchment paper. Cover and let them proof for another hour.
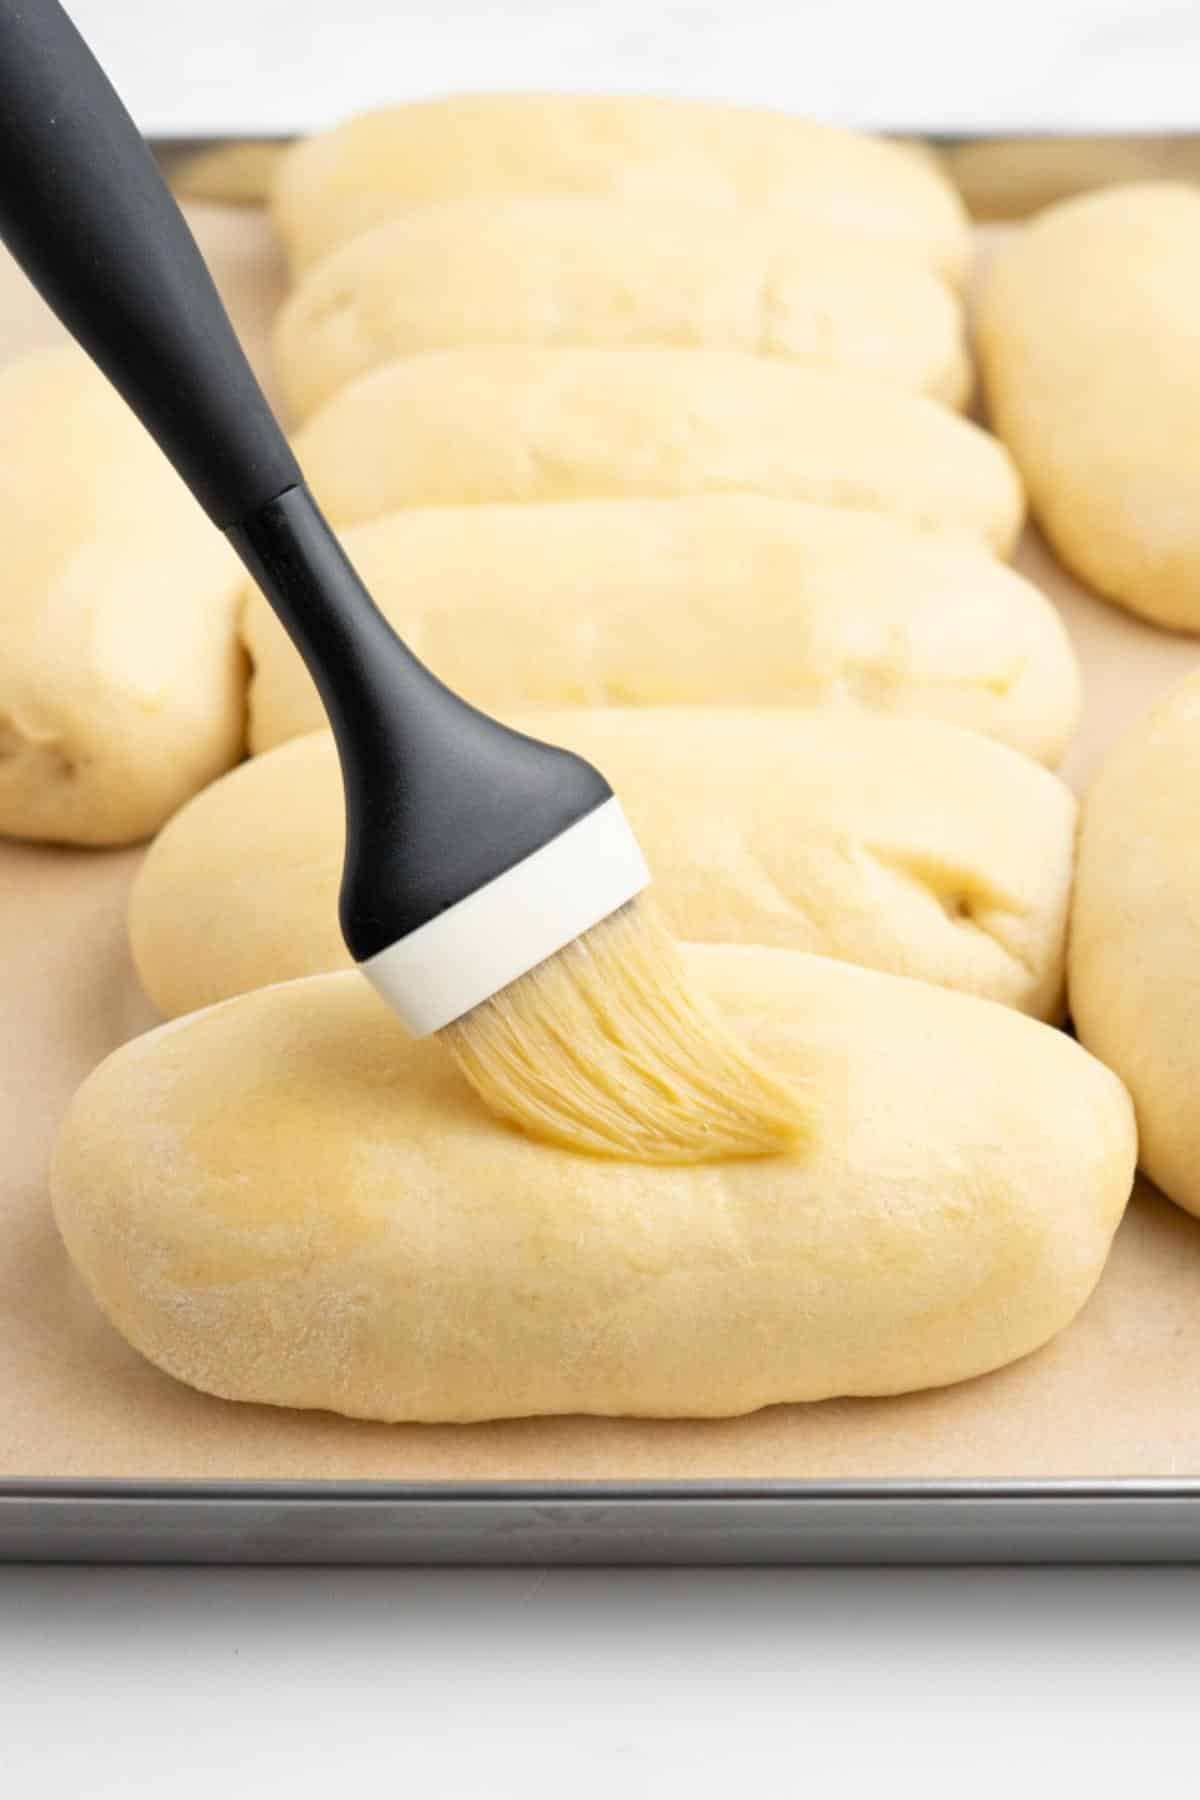
Step 10: Brush the buns with egg wash. Add an egg and water to a bowl and whisk to combine. Use a pastry brush to coat each bun with the egg wash.
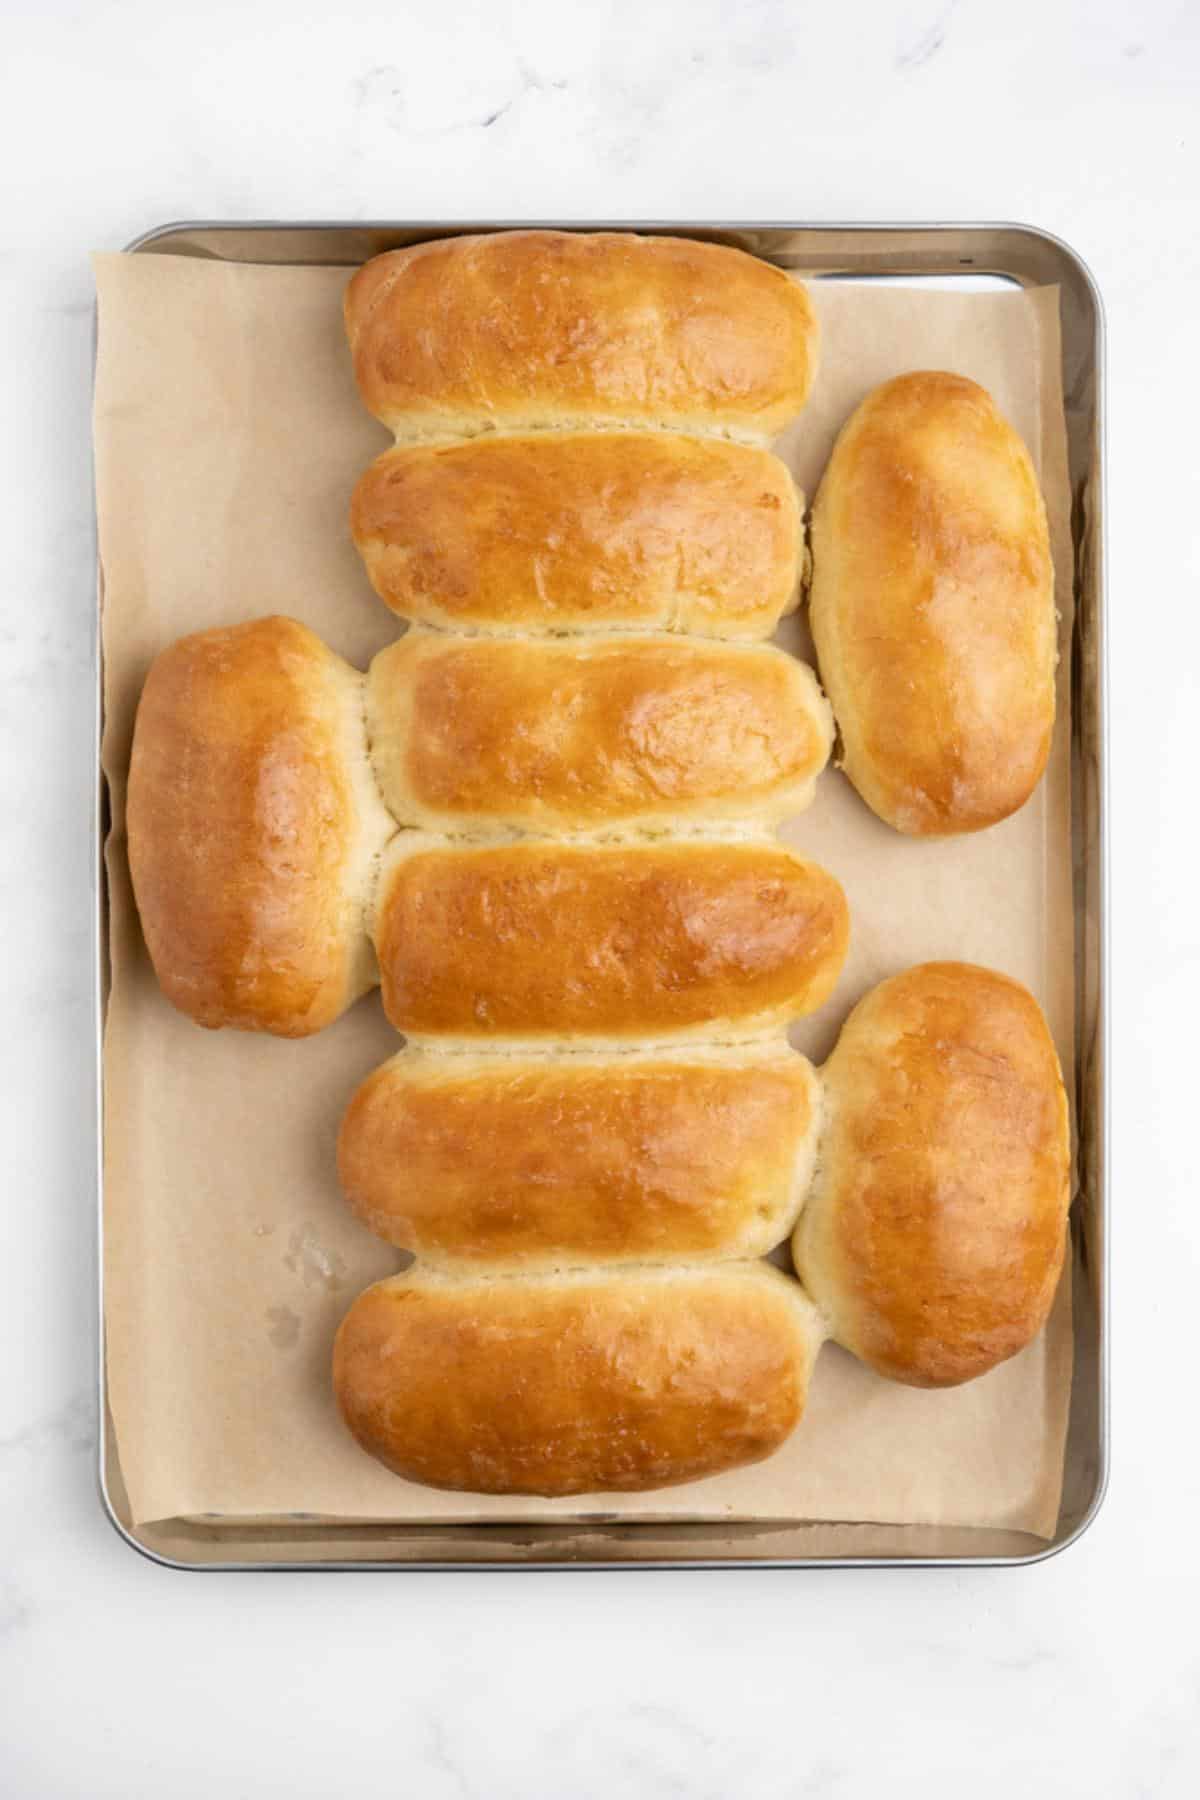
Step 11: Bake the buns. Bake in a 400°F oven until the buns are golden brown, about 12 minutes.
Serving Suggestions
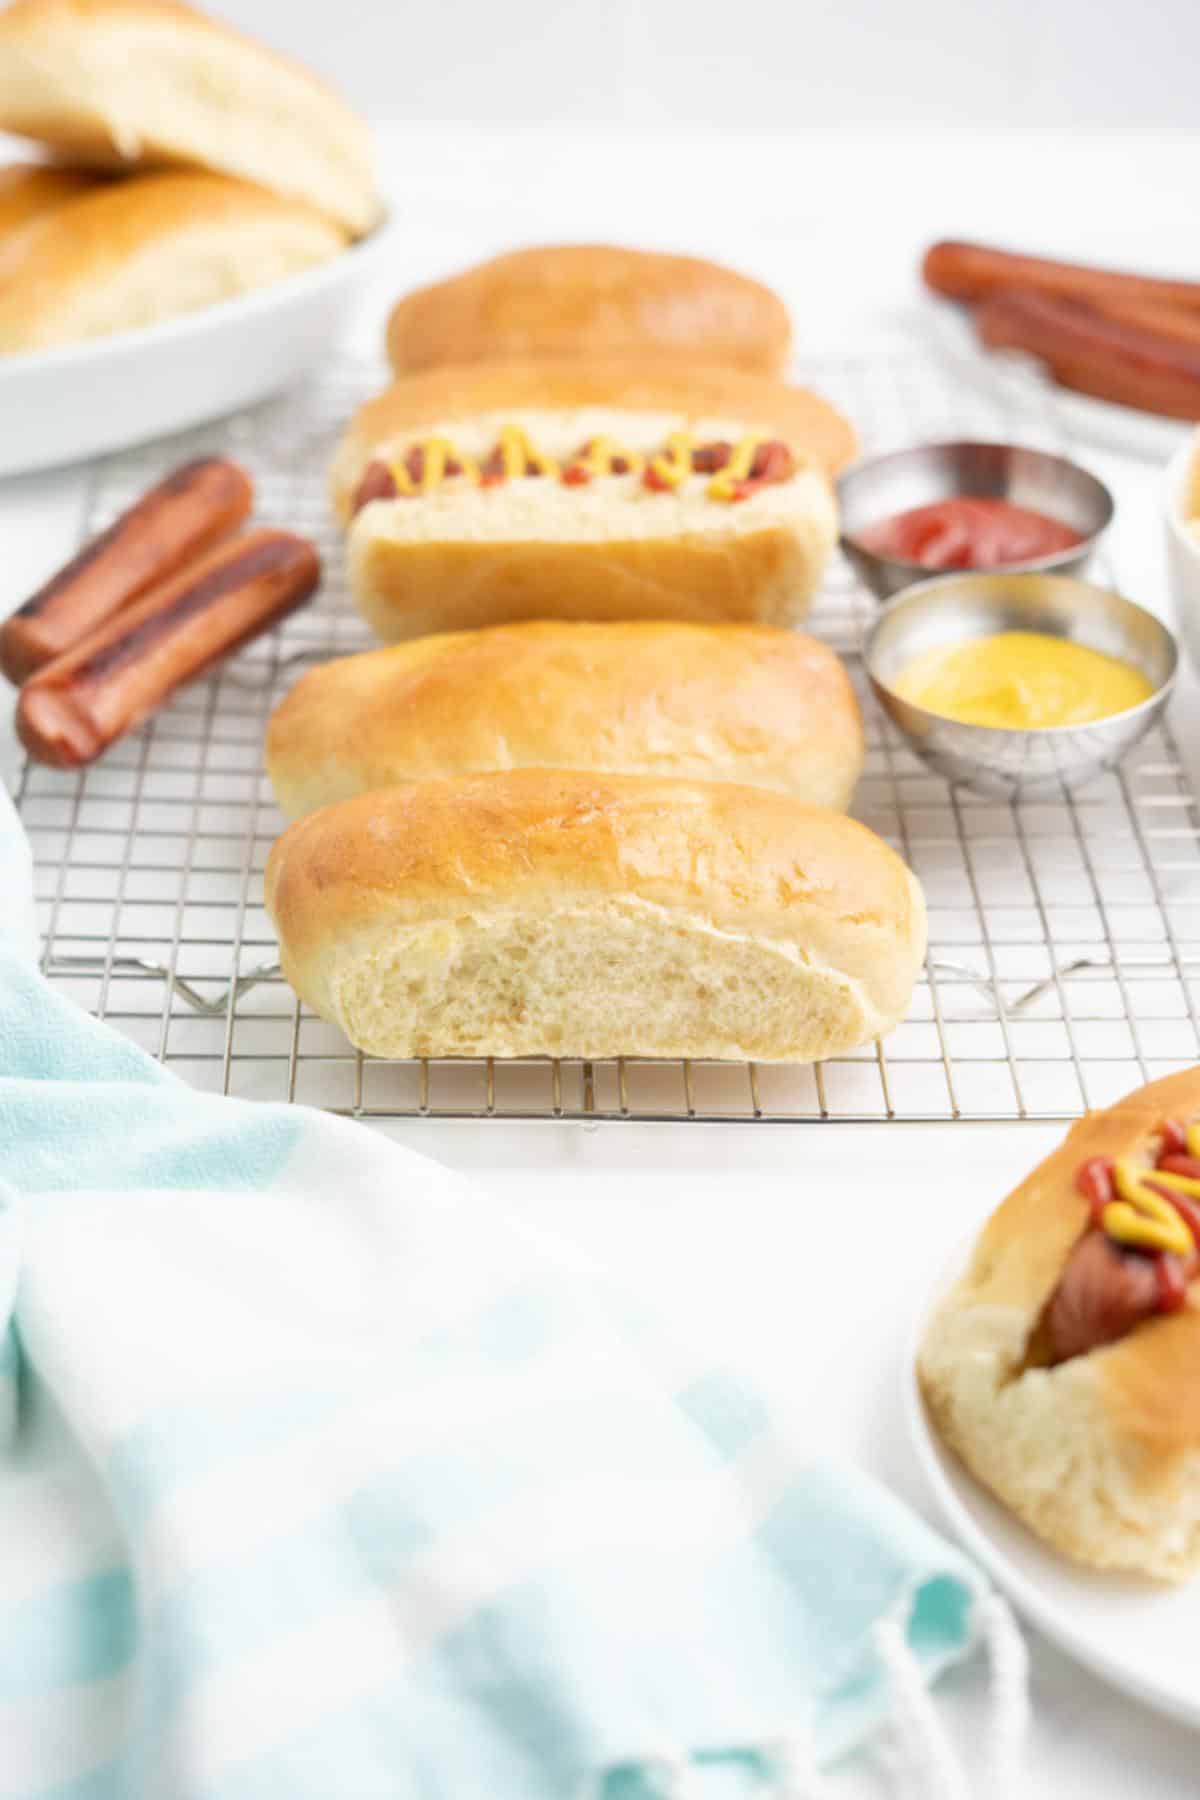
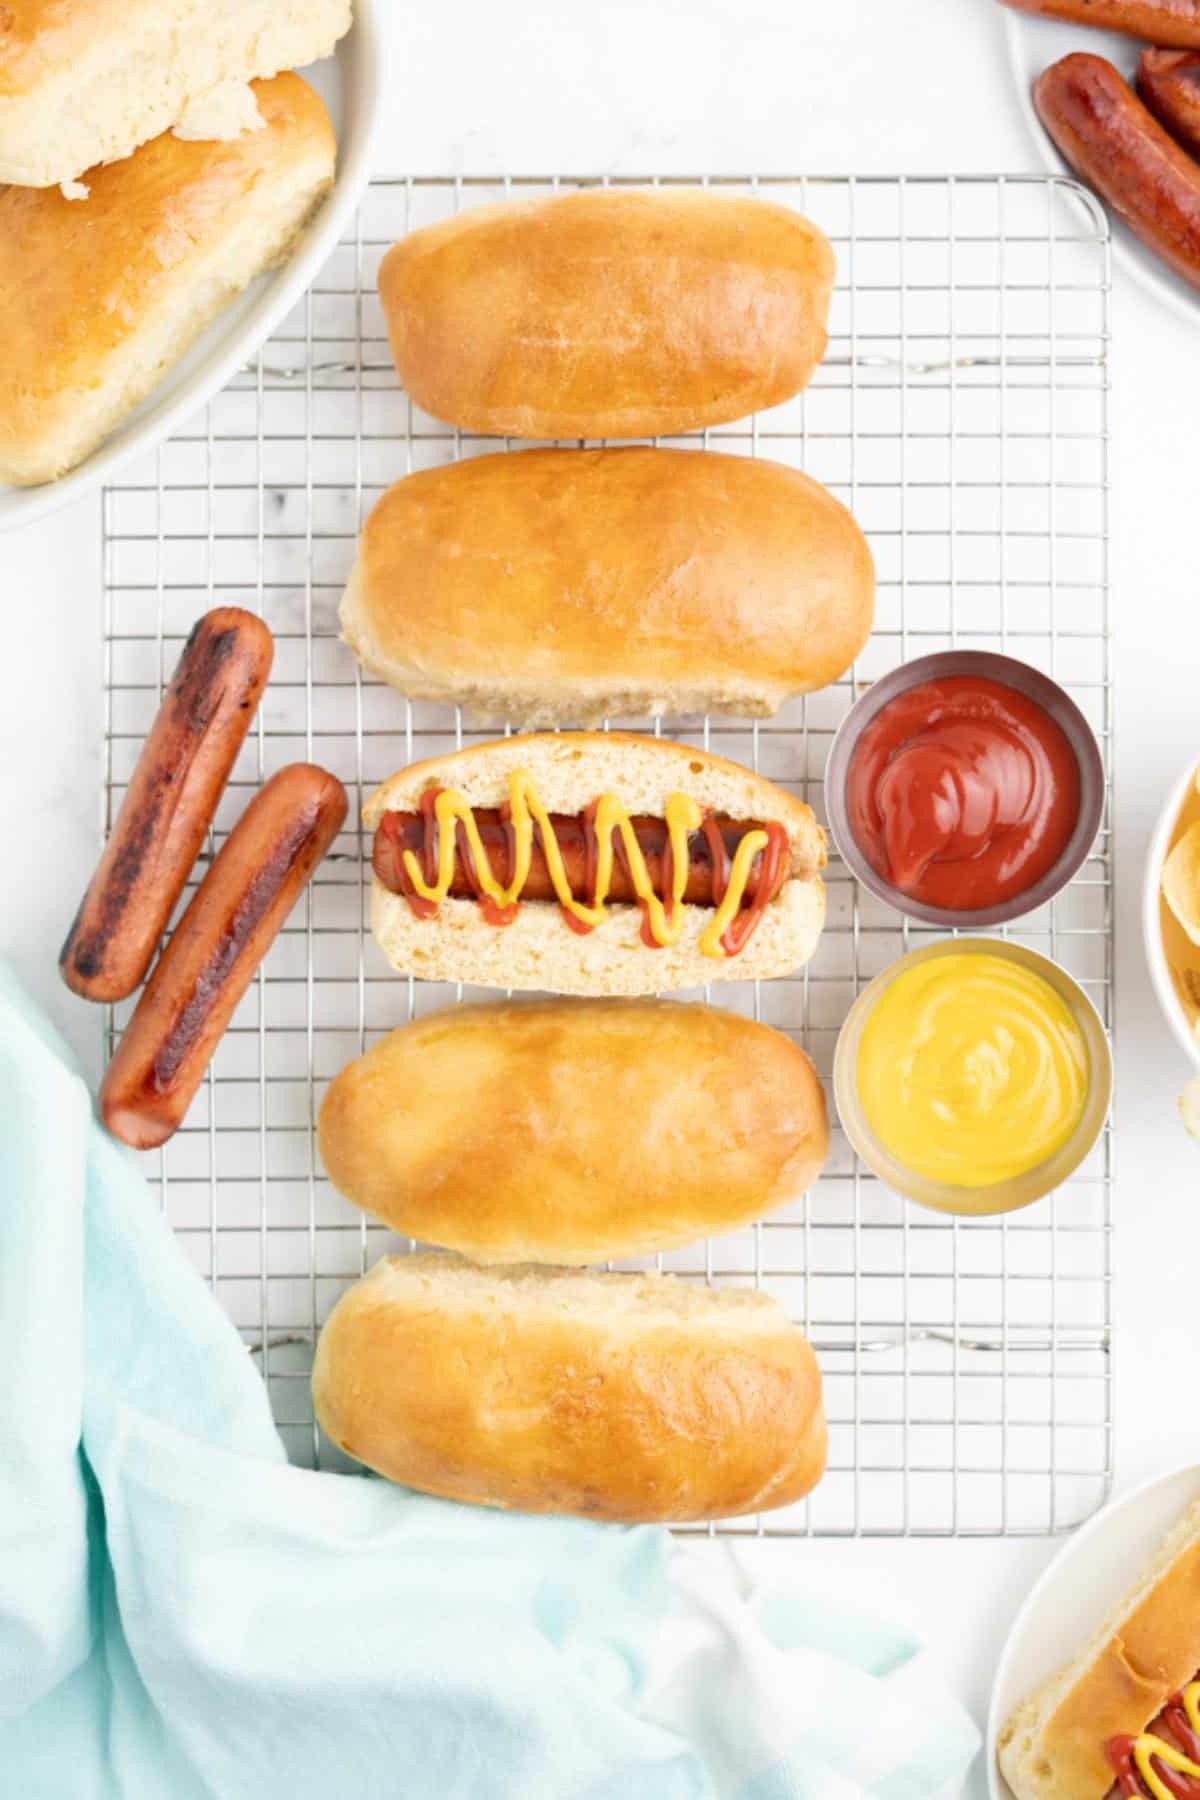
These homemade hot dog buns are perfect for cookouts or family meals! Use them for hot dogs or sausages with all your favorite fixings! Even better, try them with some of these sides or toppings.
- Make some chili dogs with this flavor-packed summer chili and add a few drops of this tasty jalapeno hot sauce for a kick of heat.
- Enjoy your hot dogs or sausages in these buns along with some slow cooker corn on the cob for dinner and strawberry banana cheesecake salad for dessert.
- Serve hot dogs at your next cookout with toasted homemade buns and some red skin potato salad and watermelon feta salad on the side.
Expert Tips
- Don’t use cold milk: Warming the milk with the butter helps maintain the right temperature for the dough to rise, but be careful not to overheat it, as high temperatures can kill the yeast.
- Use fresh yeast: Check the expiration date on your yeast package, as expired yeast may not activate properly. You can test it by dissolving a small amount in warm water with a pinch of sugar, and if it doesn’t become foamy within 10 minutes, it’s time to replace it.
- Let the dough double in size: During the first proof, the dough should rise until it has doubled in volume. At room temperature, this could take around 2 hours, while an oven proofing setting can speed it up to about 1 hour.
- Storing: Leftover hot dog buns can be stored in an airtight container or zip top bag at room temperature for 2-3 days or in the fridge for up to a week. You can also freeze baked and cooled buns for up to 3 months. Enjoy at room temperature or toasted.
Recipe FAQs
If your buns didn’t rise, the dough may not have been in a warm enough environment. Yeast needs warmth to activate properly, so if your kitchen is too cold, the dough will take much longer to rise or might not rise at all. Try placing the dough in a slightly warmer spot, like near a preheating oven or using the proofing setting if your oven has one.
Dense buns are often the result of too much flour or not enough rising time. Be sure to measure the flour properly using the spoon and level method. Also, ensure to allow the dough enough time to double in size before shaping into buns.
More Cookout Favorites


Homemade Hot Dog Buns
Ingredients
- 1 cup lukewarm water
- 2 tablespoons granulated sugar
- 1 ½ teaspoons rapid-rise yeast
- 3 ½ cups all-purpose flour
- 1 ½ teaspoons salt
- 3 tablespoons unsalted butter
- 3 tablespoons milk
- 2 eggs 1 for the dough, 1 for egg wash
- 1 tablespoon water
Instructions
- In a small bowl, combine the lukewarm water, sugar, and yeast. Stir to dissolve, then cover and set aside for 10 minutes, or until the mixture is frothy and bubbly.
- While the yeast mixture activates, whisk together the flour and salt in a large bowl to aerate. Set aside.
- In a medium bowl, combine the butter and milk. Heat in the microwave just until the butter is melted. Set aside to cool slightly (this is important to avoid killing the yeast).
- Once the yeast mixture is ready, add one egg and the melted butter and milk mixture. Stir to combine.
- Add the wet ingredients to the flour mixture and stir until just combined, forming a sticky dough. Cover the dough and place it in a warm area to rise for 1–2 hours, or until it has doubled in size. (See notes for rising tips)
- Transfer the dough to a lightly floured surface. Gently add small amounts of flour - only enough needed to handle the dough. Divide it into 10 even pieces, each weighing about 95–98 grams.
- Flatten each dough ball, then roll it out into a hot dog bun shape.
- Place the shaped buns onto a parchment-lined baking sheet. Cover and allow them to rise for about 1 hour.
- Preheat the oven to 400°F (200°C). To make the egg wash, whisk together the second egg and 1 tablespoon of water. Brush the egg wash over each bun.
- Bake for 12 minutes, or until the buns are golden brown.
- Remove from the oven and let cool before slicing for your hot dogs.
Notes
- Be sure to allow the dough to proof in a warm area or it won’t rise properly. You can let it rise at room temperature or use your oven’s proofing setting.
- Ensure that your yeast packet is not expired or it can affect how efficiently the dough rises.
- Store leftover buns in an airtight container at room temperature for 2-3 days. They can also be refrigerated for up to a week or frozen for up to 3 months.
Charlotte says
These look absolutely fantastic and so much more appetizing than store-bought buns. I can't wait to make these for BBQ season! Thanks for the great tutorial!