


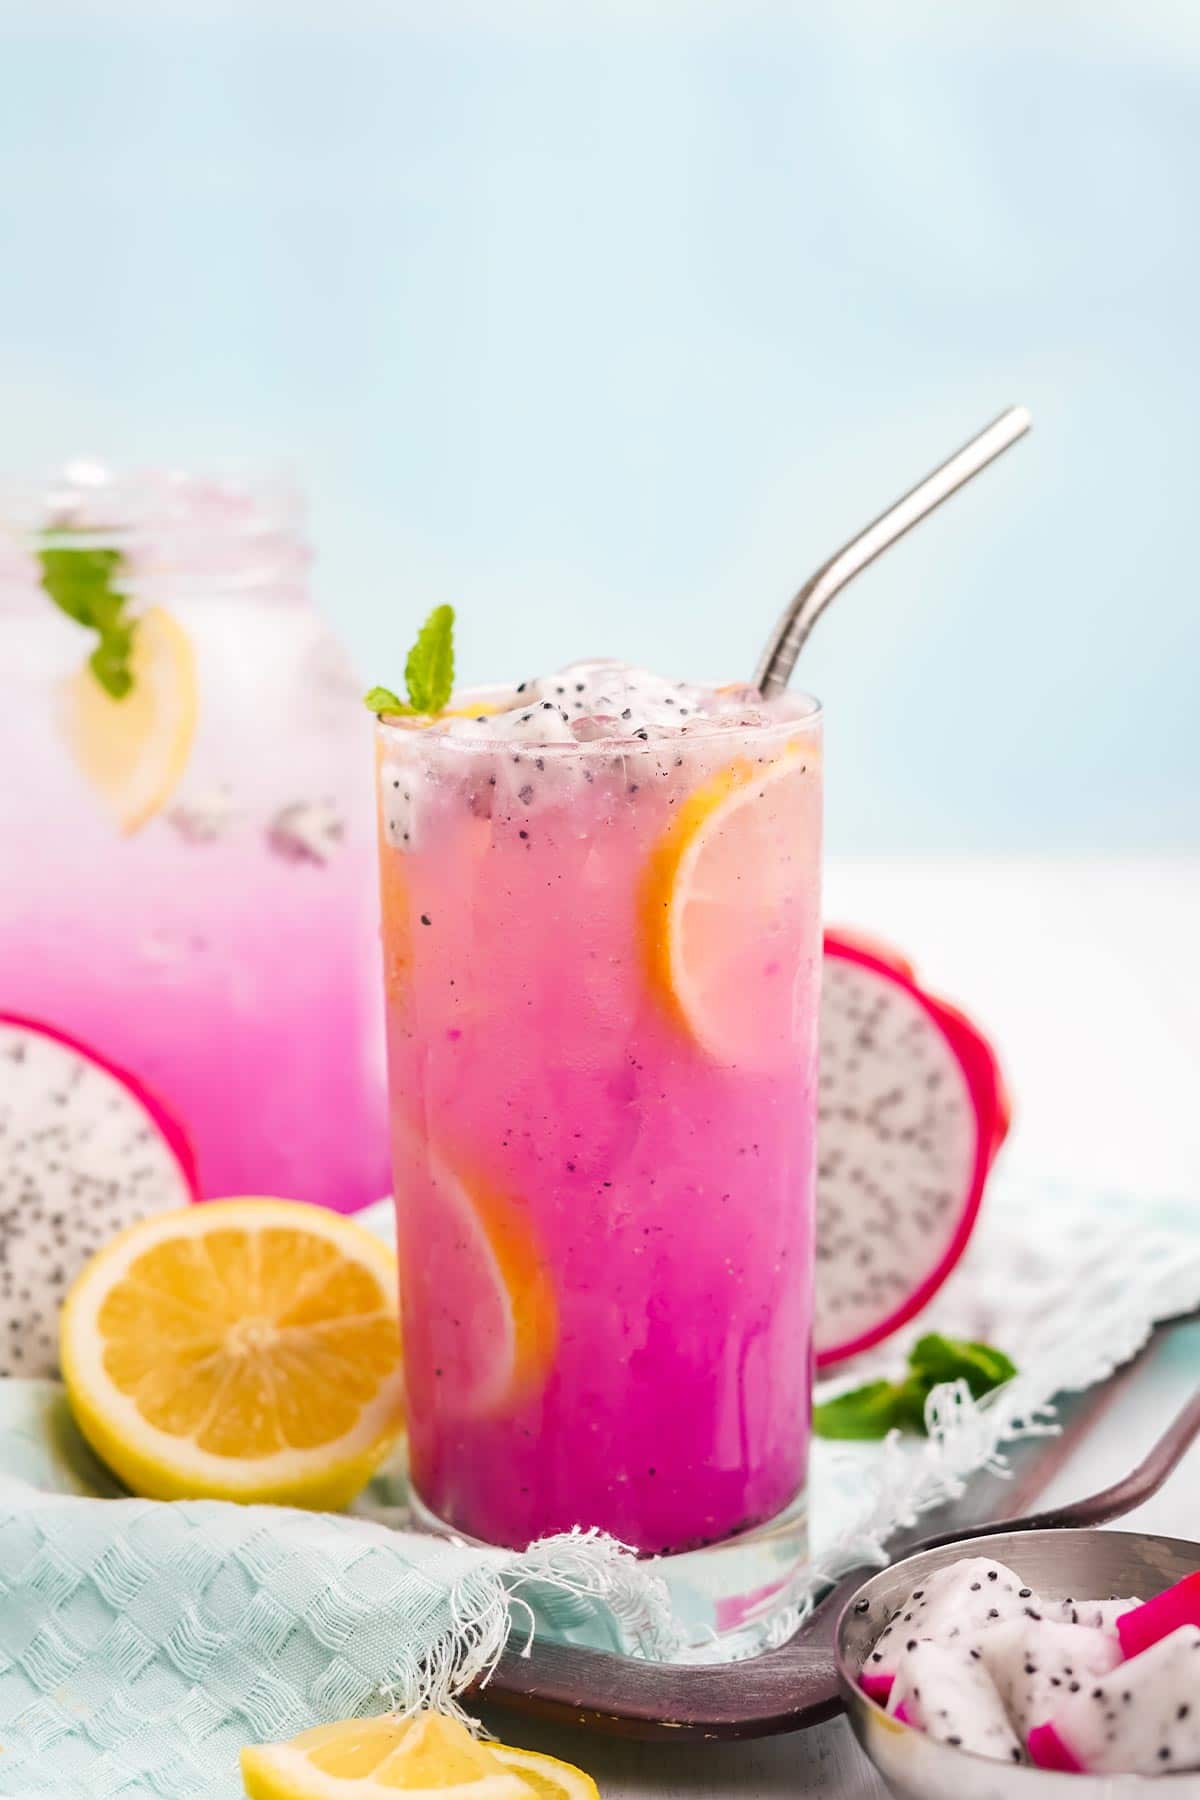
This refreshing dragon fruit lemonade recipe is made from fresh dragon fruit, fresh lemons, and sweetened with simple syrup for a beautiful and refreshing drink you will crave all year long. Top the glass of lemonade with diced dragon fruit, lemon slices, and fresh mint for a drink that is equally beautiful and delicious.
Note: that links to products you find in this post are Amazon affiliate links which means I do make a small amount of money when you click and make purchases.
If you have ever been to Starbucks, chances are you have seen images of their eye-catching mango dragon fruit refresher at some point.
It is hard to miss the vibrant magenta hue and it's just as tasty as it looks. One sip and I was hooked!
I wanted to figure out how to make a simplified recipe at home and tried a few different versions before landing on this one.
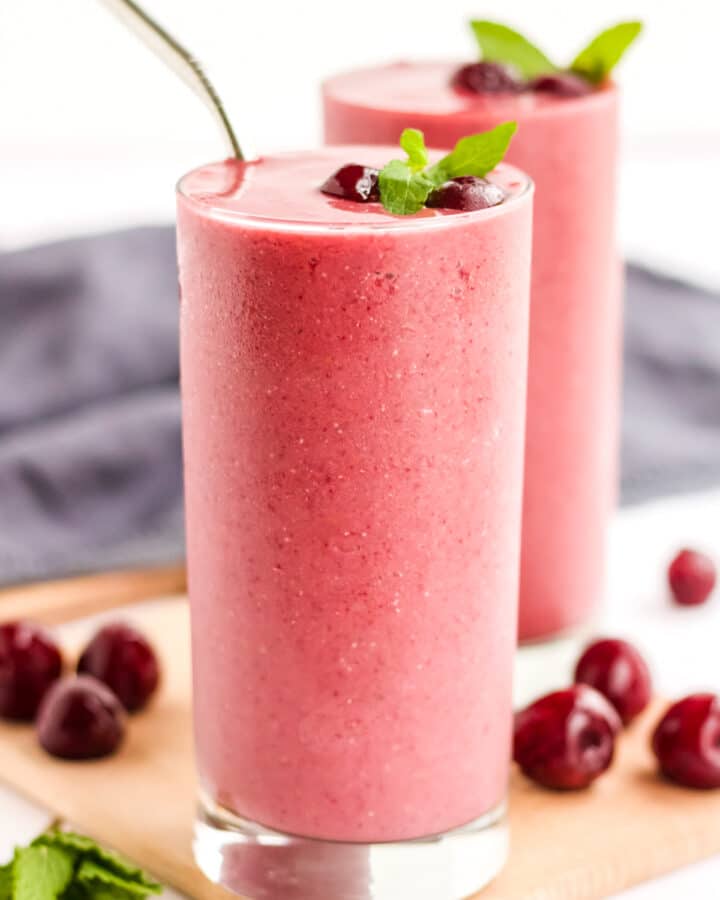
Making your own delicious dragon fruit lemonade recipe at home not only saves you money, but now you can be sure exactly what is going in your drink and adjust it to suit your taste. If you like making your own drinks at home, I think you are going to love this easy peach and banana smoothie, and for the adults, this fresh grapefruit mimosa.
Is your mouth watering yet for a glass of this pink lemonade? If so, let's get started!
Jump to:
Ingredients
My favorite thing about this recipe is the simplicity of the dragon fruit lemonade ingredients. To make it you will need the following
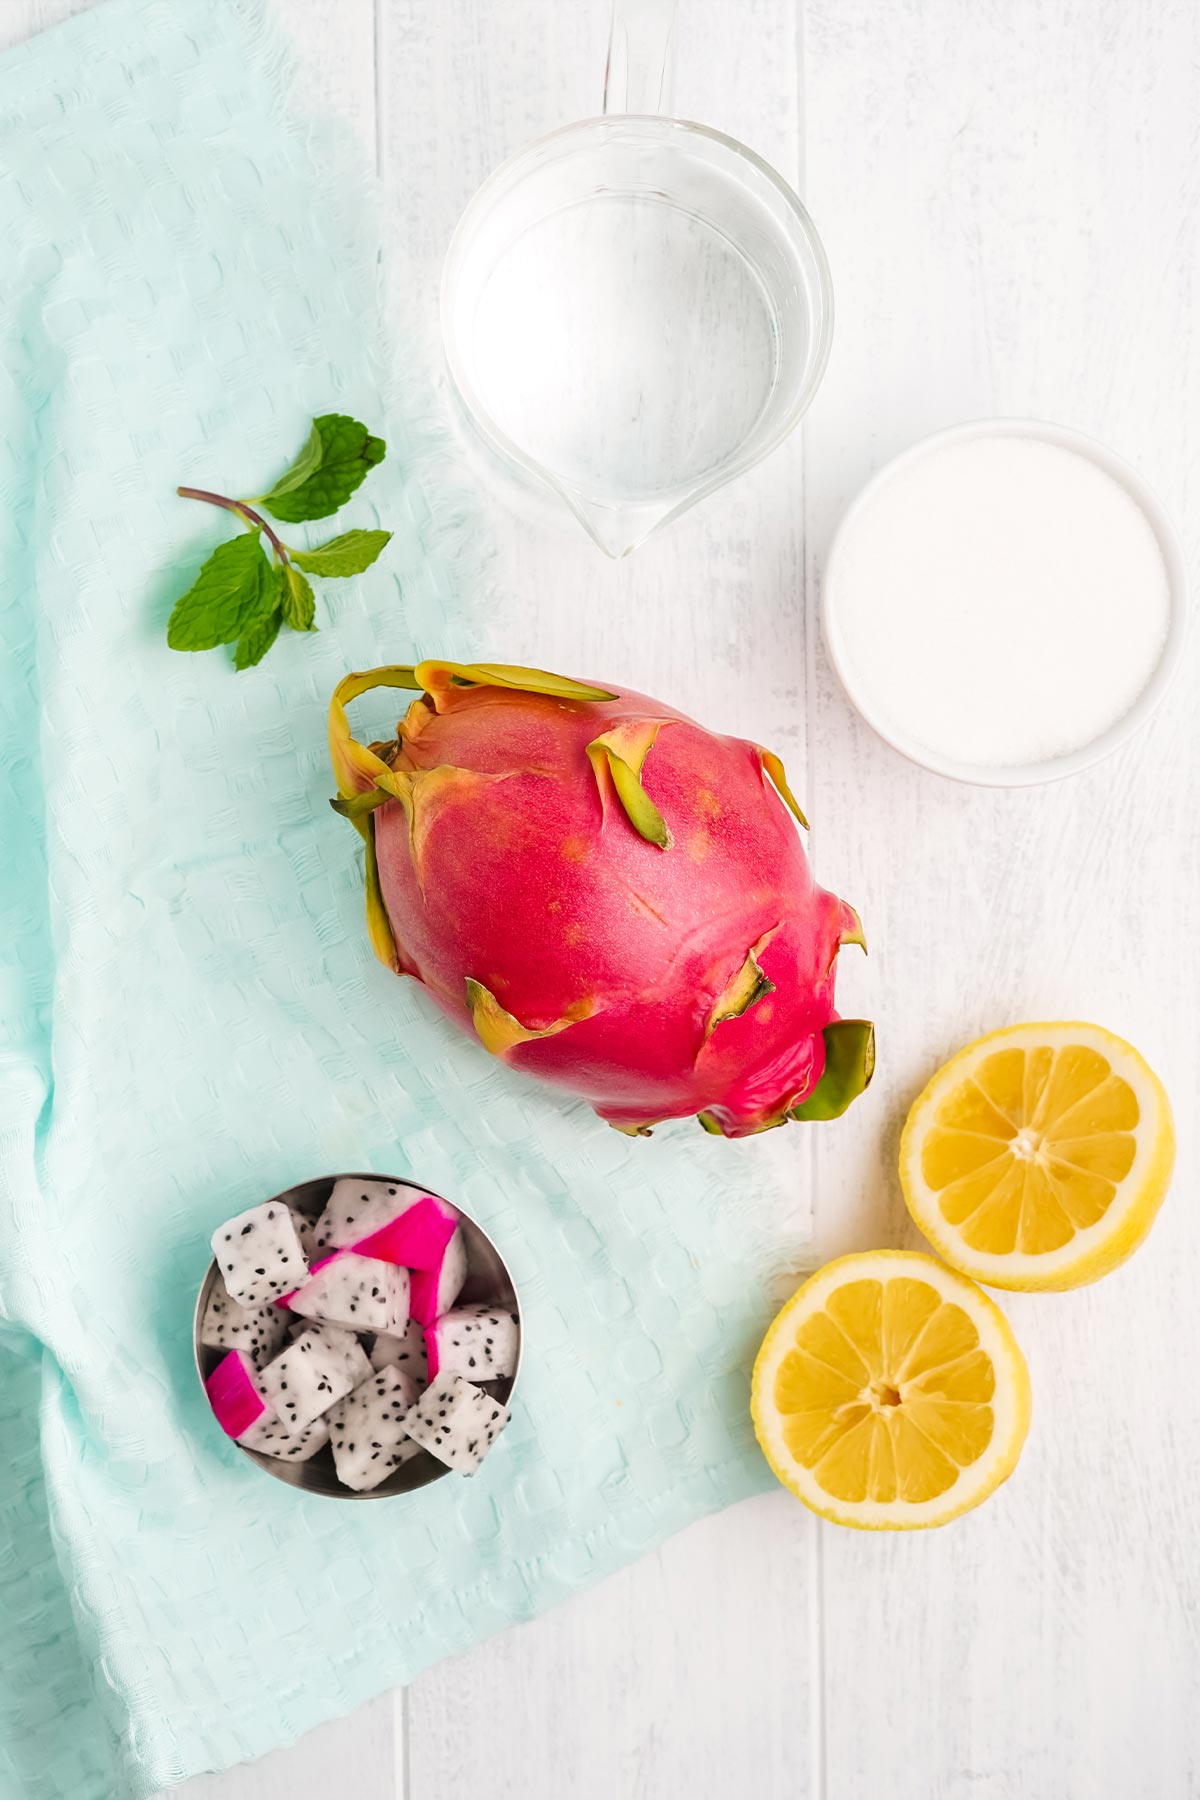
- Dragon fruit: Fresh dragon fruit is pureed to make the heart of this refreshing lemonade recipe and give the drink its brilliant pink color. It also goes by the name, pitaya and may sometimes have yellow skin with white flesh or a pink outside and pink flesh!
- Fresh lemons: To make the freshly squeezed juice (be sure to remove the seeds!).
- White granulated sugar: To make the simple syrup.
- Water: For making the simple syrup and cold water to mix in with the puree and juice to finish the lemonade.
- Fresh dragon fruit, lemon slices, mint: Garnishes to spruce up your glass of lemonade into a beautiful treat.
See the recipe card for exact quantities.
Substitutions
I love this recipe as written, but if you need to make adjustments the following substitutions can be made.
- Dragon fruit: Frozen dragon fruit can be used in place of fresh. You could also use dragon fruit powder in a pinch and use the quantity suggested by the manufacturer to replace 1 cup dragon fruit.
- Lemons: If you don't have fresh lemons, you can use prepared lemon juice. You could also use store bought lemonade, however, fi you do this you will need to skip the simple syrup.
- Sugar: You can sweeten this drink with honey, monk fruit sweetener, granular Swerve or whatever your favorite sugar replacer is. Please note the quantity may need to be adjusted.
Equipment
You don't need any fancy equipment to make this recipe however, having the following items in your kitchen can really be helpful:
- Small Saucepan
- Measuring Cups and Spoons
- Juicer
- Blender
- Knives
- Cutting Board
- Pitcher
- Wooden Spoon for mixing
How to Make Dragon Fruit Lemonade
Making dragon fruit lemonade at home is so easy!
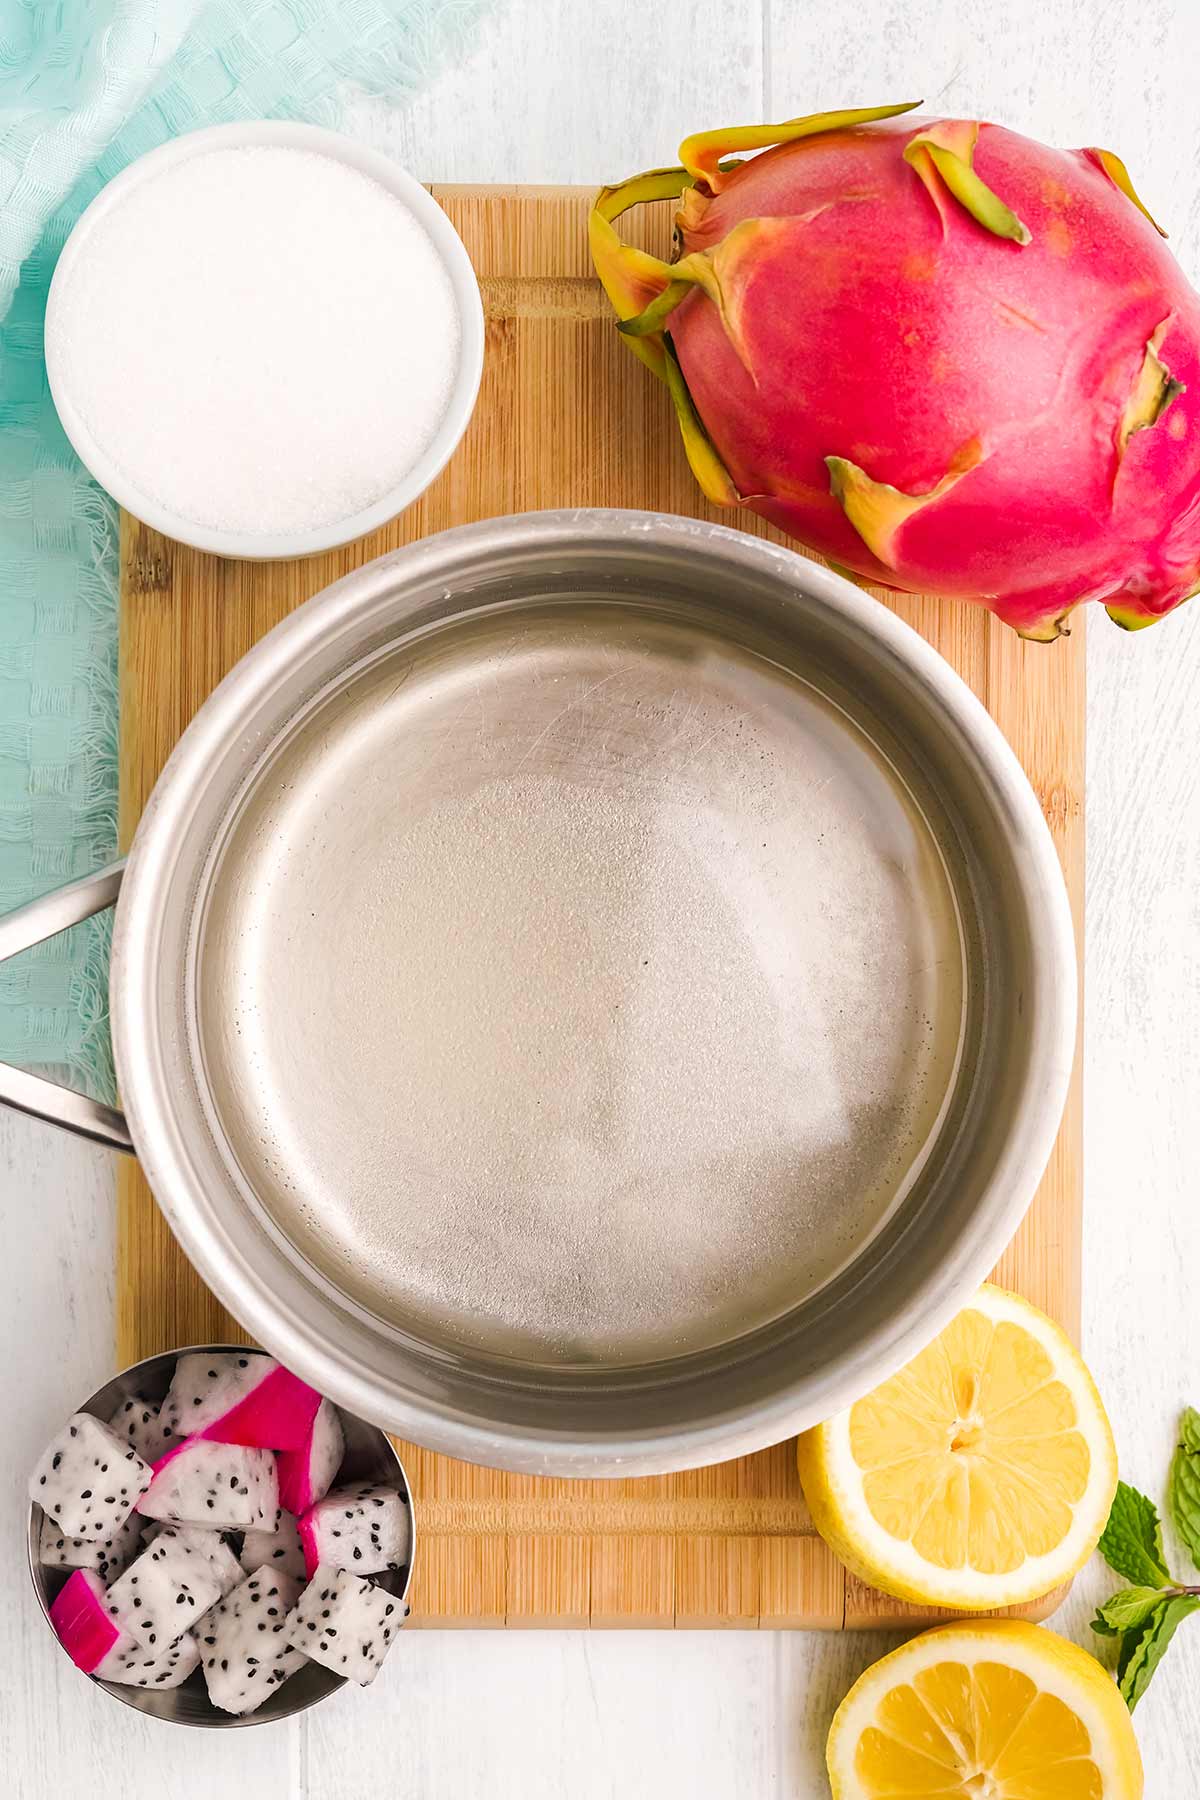
Start by making the simple syrup. Making a homemade simple syrup for beverages is so easy.
Combine 1 cup water and 1 cup granulated sugar and whisk together over medium heat until the sugar is dissolved.
Once the sugar is dissolved, you can set this aside and let it cool a bit.
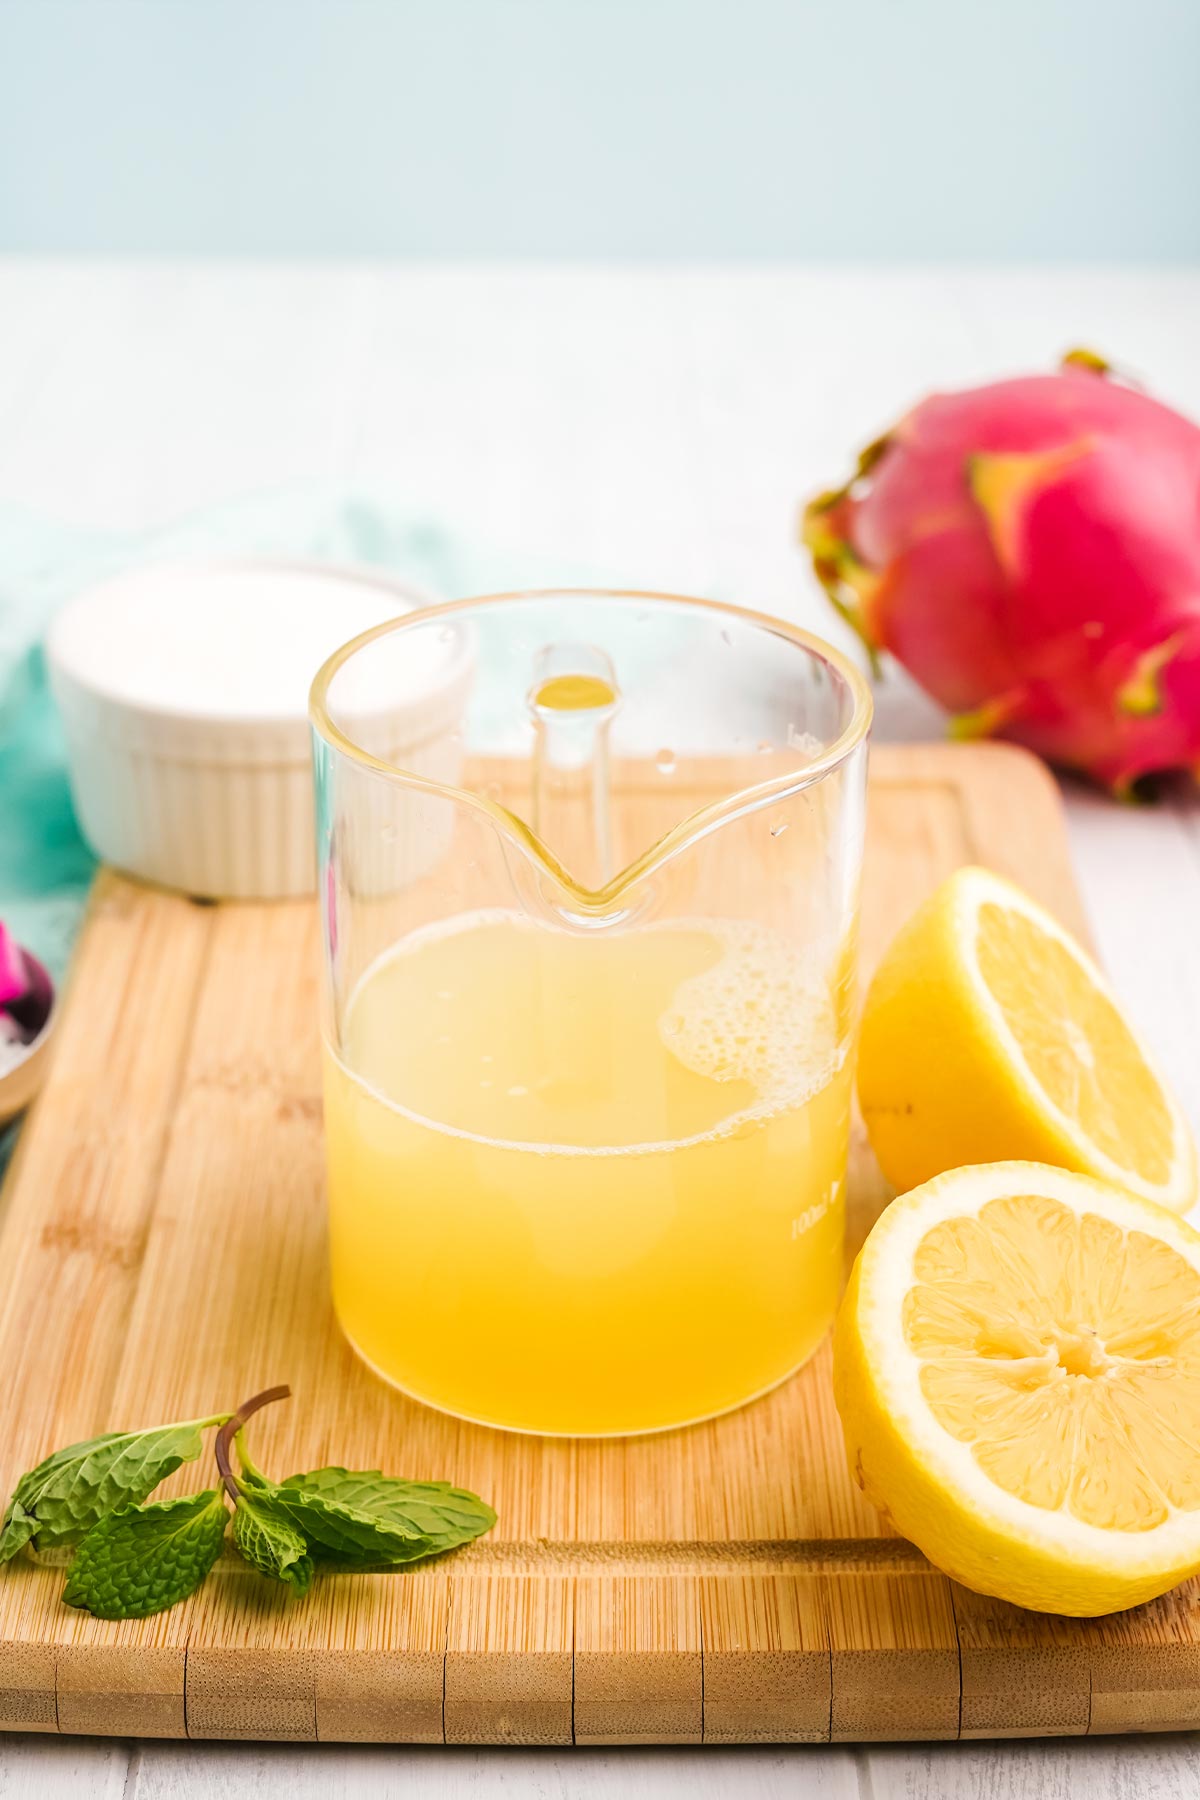
Meanwhile, you can prep the lemons for juicing by cutting them in half and removing the seeds. I use a hand juicer when I am making lemonade but you can also use a full-sized juicer if you prefer.
To make dragon fruit lemonade you will need about 1 cup of fresh-squeezed lemon juice. Depending on the size of your lemons, you will need about 4-6 lemons.
Once the lemon juice is prepared, remove any seeds and set the juice aside.
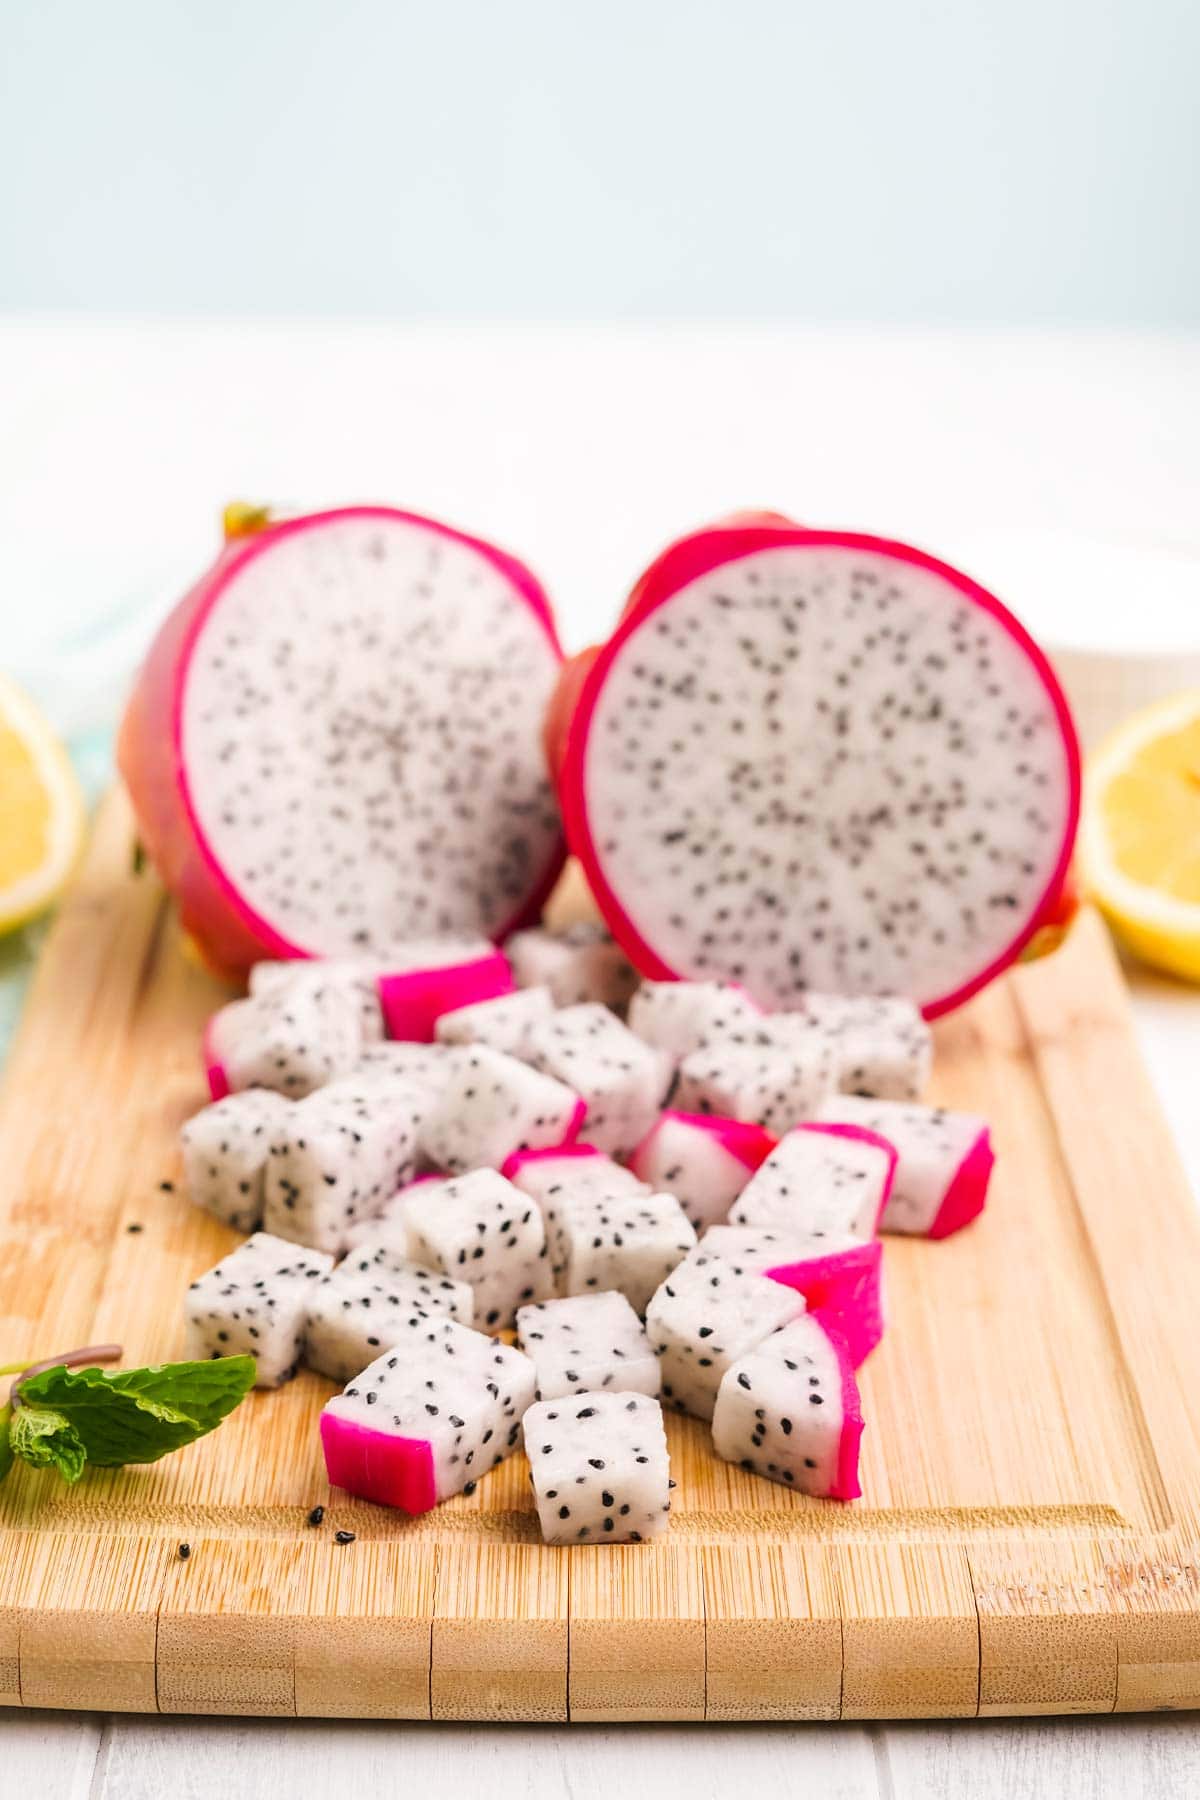
Next, it is time to prep the dragon fruit juice part of the lemonade. I like to use a knife to cut off both ends and then cut around the peel, leaving a bit of pink.
Leaving just a little bit of the pink on the flesh is going to give the dragonfruit that beautiful vibrant color.
For this dragon fruit drink recipe, you will need about 1-2 cups of dragon fruit.
Measure out the dragonfruit and put it in a blender with 1 tablespoon of water. Pulse on low speed until the dragonfruit is pureed to your liking.
Personally, I like a little bit of pulp and texture in my drink so I do about 1-3 light pulses on the blender.
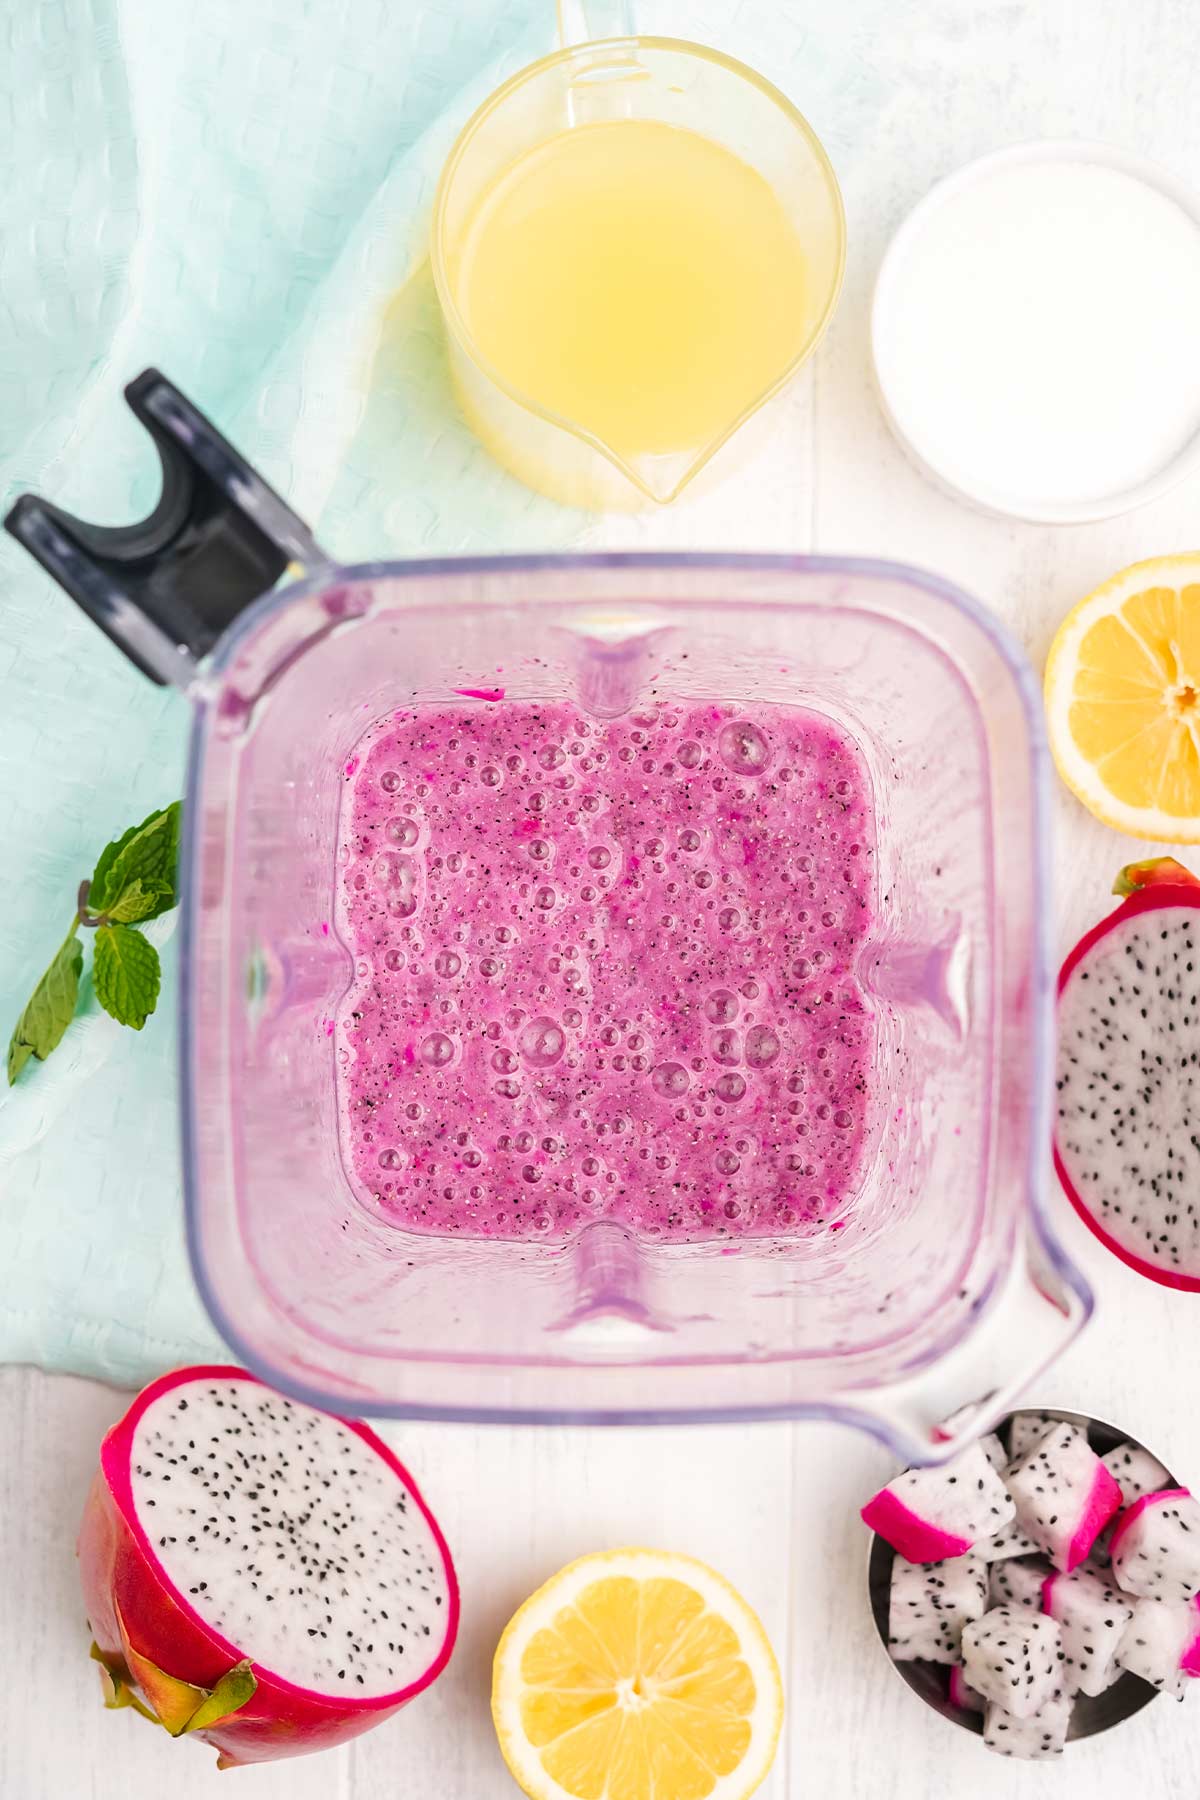
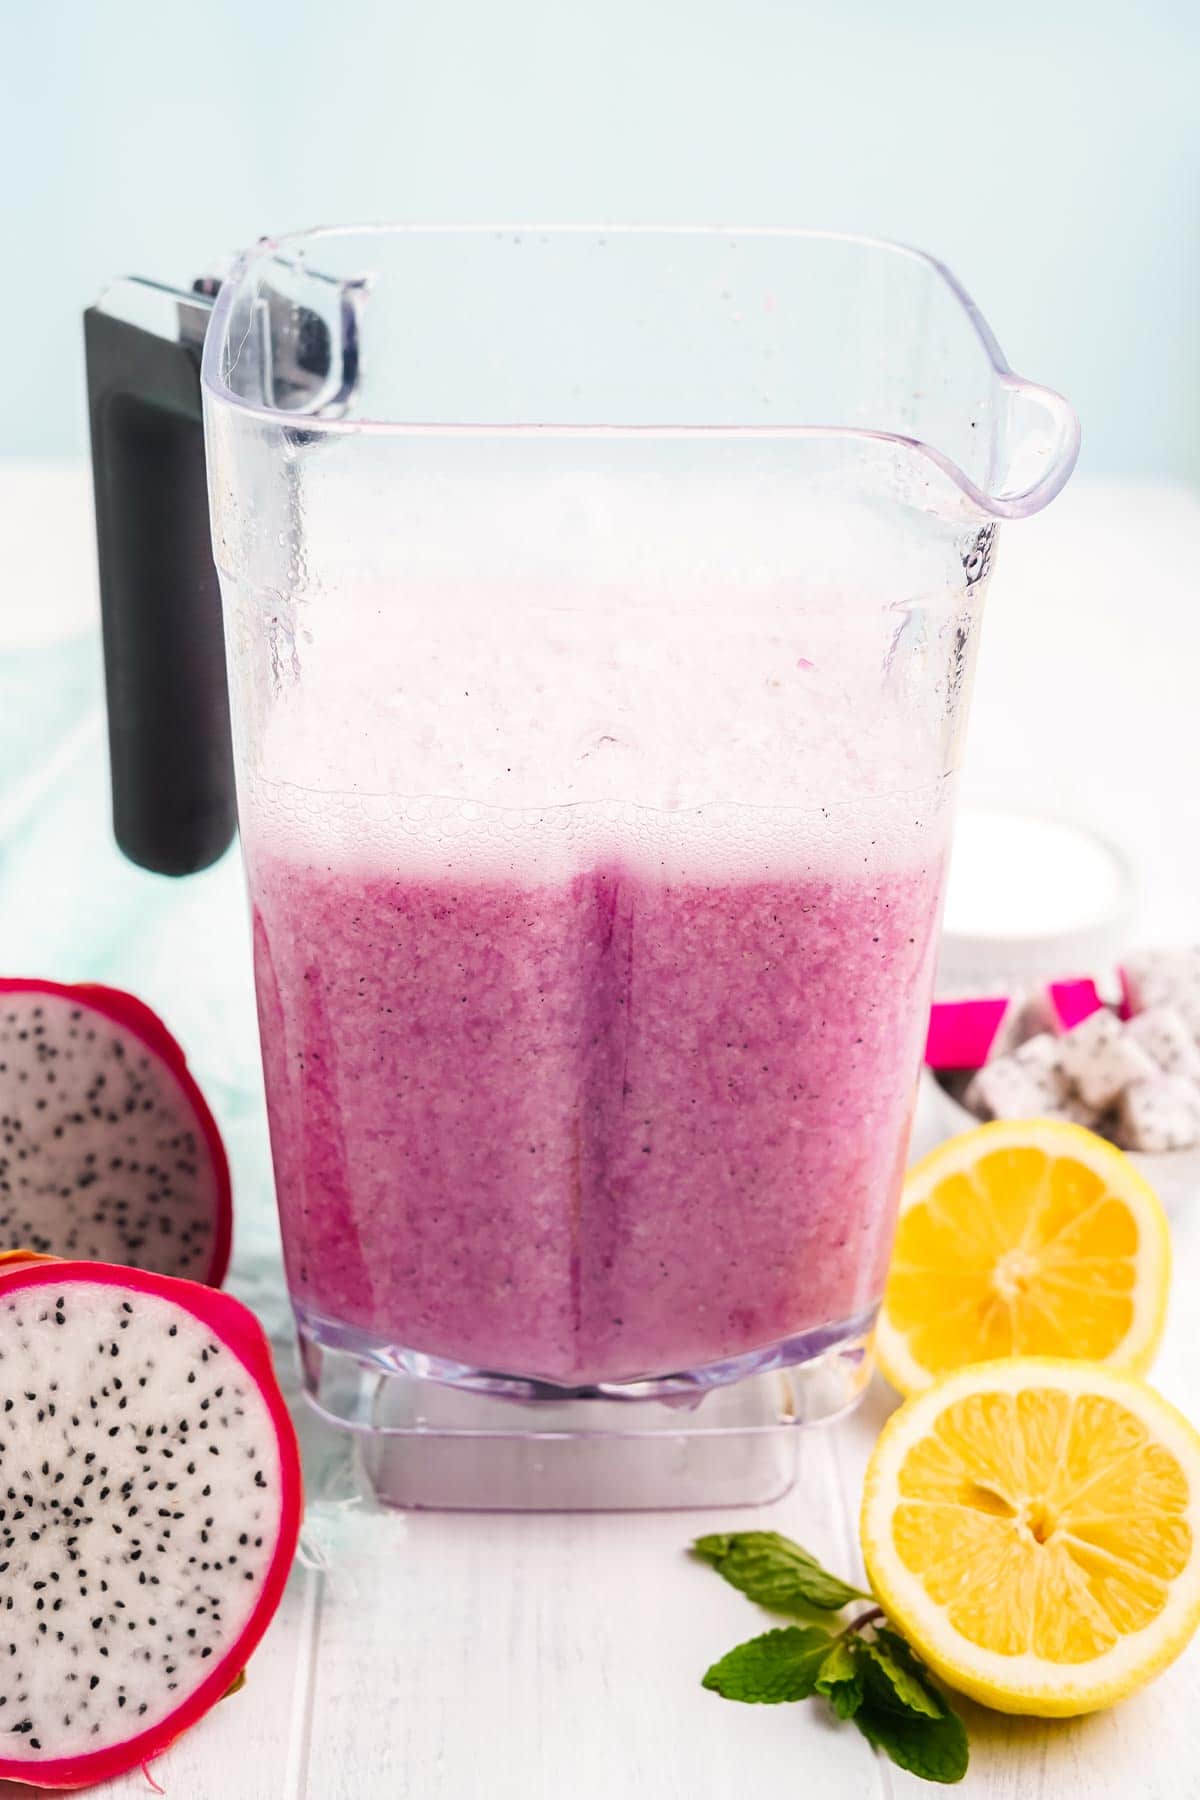
Next, add the simple syrup and lemon juice to the blender. At this time you will also add 2-3 cups of cold water.
Add the water slowly and taste as you go to adjust to your personal tasting preference.
The ripeness of the fruit may impact the amount of water you want to use. So, start with 2 cups and slowly add the third cup tasting as needed.
During this part, I recommend keeping it in the blender that way you can pulse to break down pulp if needed.
This recipe is highly adaptable. At this point you can add more lemon if you want things a bit more tart, more sugar to sweeten things up, or even more water to mellow things out.
As the lemonade sits, that beautiful vibrant color will settle towards the bottom of the glass while the pulp floats to the top.
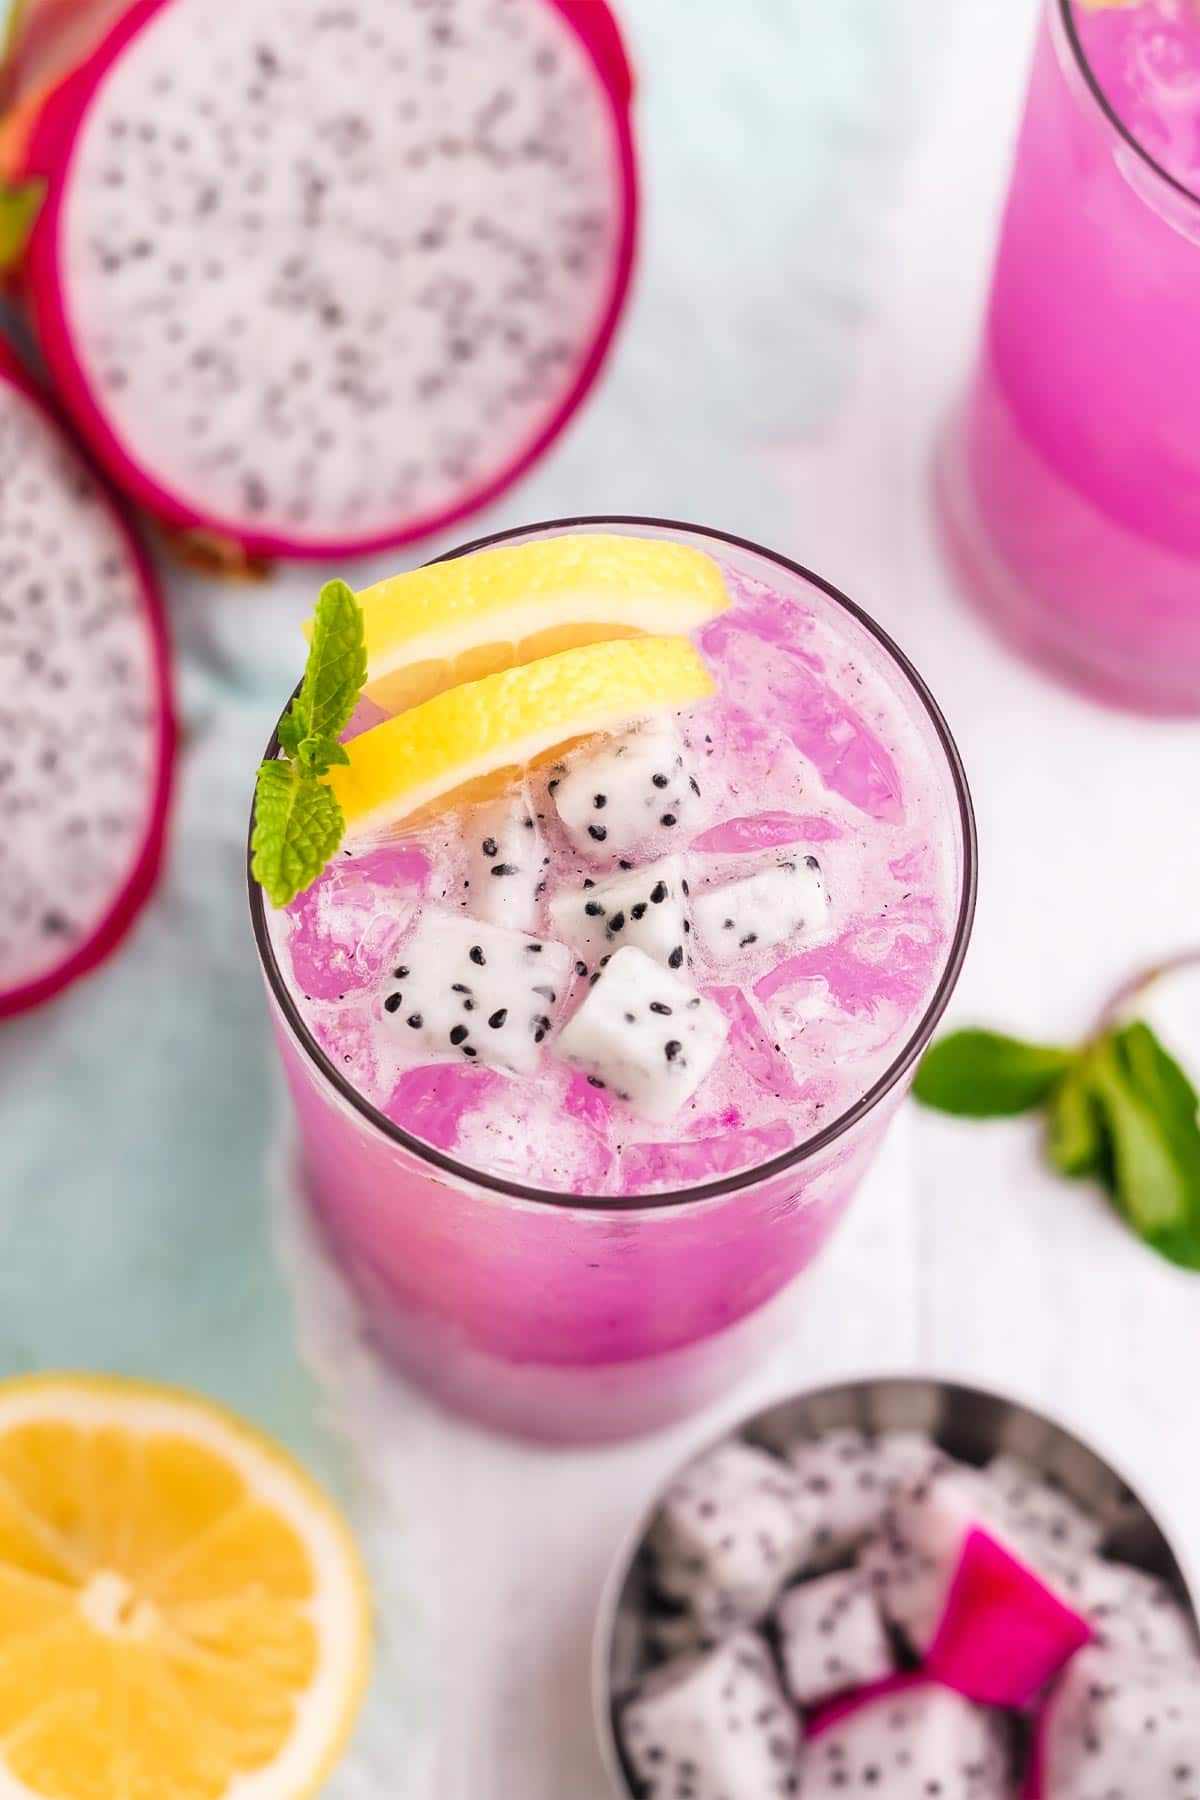
Pour over ice cubes and serve with sliced lemon, dragon fruit cubes, and fresh mint as a garnish.
Variations
Here are a few of my favorite variations to use when I plan to make and serve this dragon fruit drink recipe.
- Sugar free: You can make this recipe sugar free by replacing the sugar with one of the suggested substitutions above.
- Slushy: Add ice to the blender to make a dragonfruit lemonade slushy.
- Make it sparkling- Use sparkling water to make a sparkling dragonfruit drink.
Storage
Fresh lemonade lasts about 7 days in the refrigerator when properly stored with an air tight container.
Because we are adding fresh fruit to this recipe, I recommend enjoying this lemonade within 5 days of making it.
Store in an air tight pitcher without ice and only add ice when serving to prevent the beverage from getting watered down.
Expert Tips and FAQS
I can't wait for you to try this recipe! Remember to keep these tips and tricks in mind when making yours:
- Adjust the color by adding more of less of the pink flesh.
- Use frozen dragonfruit if you don't have fresh on hand.
- Allow the simple syrup to cool before adding it to the rest of the recipe.
- Use the pulse option on your blender rather than the blend setting for more texture control.
The color comes from the inside of the peel. You can adjust the color of your lemonade by adding more or less of the pink flesh.
Yes, you can use frozen dragon fruit in the same quantity as directed for this recipe.
Dragon fruit has a sweet, mild flavor. Many people compare the flavor to a pear or a kiwi.
Yes, the seeds of the dragonfruit are very mild and are often compared to strawberry or kiwi seeds.
More Refreshing Recipes


Did you try this recipe? Please leave a star rating in the recipe card right below! You can also write a review in the comment section further down the page I always appreciate your feedback. And don’t forget to tag me @freshcoasteats in your photos on social media, I'd love to see your results!

Dragon Fruit Lemonade
Equipment
- Wooden spoon for mixing
Ingredients
- 1 cup water
- 1 cup sugar
- 1-2 cups fresh dragon fruit peeled
- 1 cup freshly squeezed lemon juice
- 2-3 cups cold water
- Optional Garnishes: Extra dragonfruit lemon wedges and mint
Instructions
- Prepare a simple syrup by whisking 1 cup water and 1 cup sugar together over medium heat until sugar has dissolved. Remove from heat and cool completely.
- Place the prepared dragon fruit in a blender and pulse until desired consistency is reached.
- Add the cold water, lemon juice and simple syrup to the blender and pulse just until combined, being careful not to overmix.
- Pour over ice and enjoy!
Notes
- Adjust the color by adding more of less of the pink flesh.
- Use frozen dragonfruit if you don't have fresh on hand.
- Allow the simple syrup to cool before adding it to the rest of the recipe.
- Use the pulse option on your blender rather than the blend setting for more texture control.
Leave a Reply